Install SCCM Current Branch – Part 11 – Install SCCM 1702
Before starting the installation of SCCM Current Branch, I recommend running a prerequisite check to verify that the Site Server meets all prerequisites, such as the necessary Windows Features, SQL Server, Windows ADK and WSUS.
| NOTE: Remember to login with the SCCMAdmin account to the site server! This is the account that was created in step two of the SCCM installation guide, and that should have been added to your site server local administrators group as per part 6 of this same guide. |
You also need to download, obviously, the SCCM media. Download the evaluation version from Microsoft’s Evaluation Center: https://www.microsoft.com/en-us/evalcenter/evaluate-system-center-configuration-manager-and-endpoint-protection
How to run a prerequisites check for SCCM
- Open a Command Prompt window and change directories to the following location:
- <Configuration Manager installation media>\SMSSETUP\BIN\X64
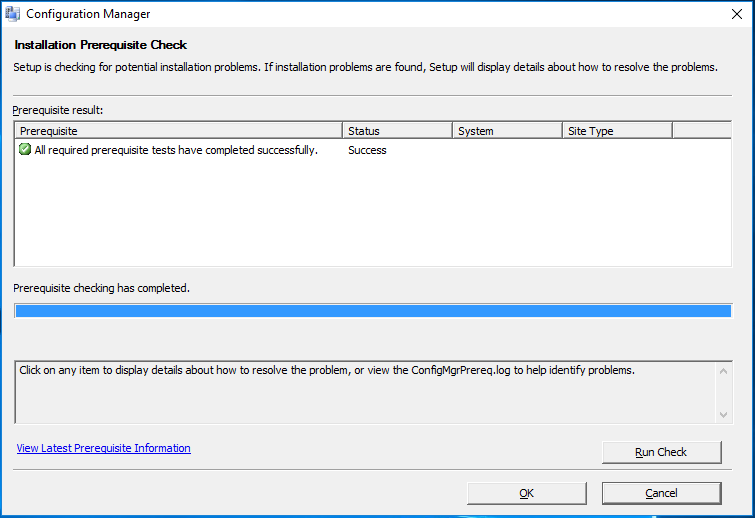
- Enter prereqchk.exe /LOCAL to start Prerequisite Checker and run all prerequisite checks on the server.
The result should be the following:
SCCM Current Branch Installation
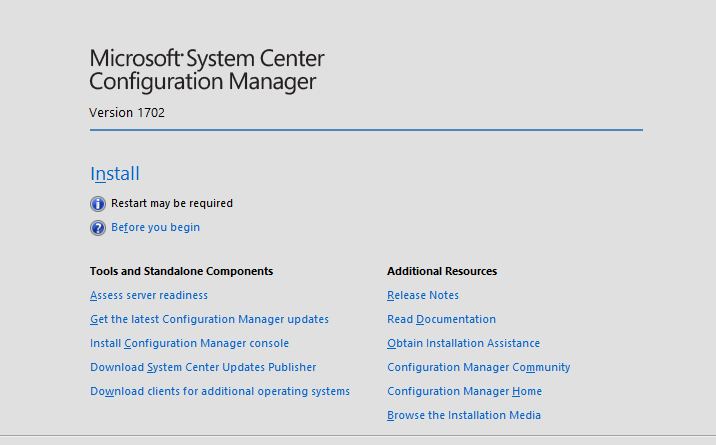
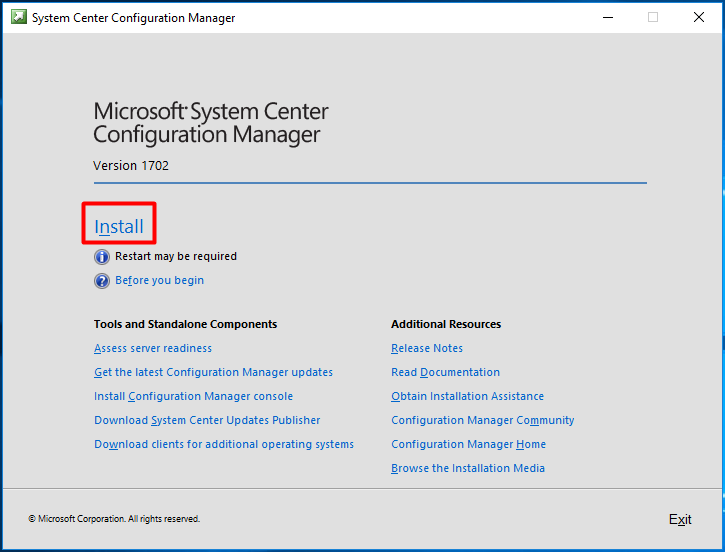
Browse to the location where you have saved your SCCM media and launch the splash.hta HTML application.
At the initial screen press “Install”.
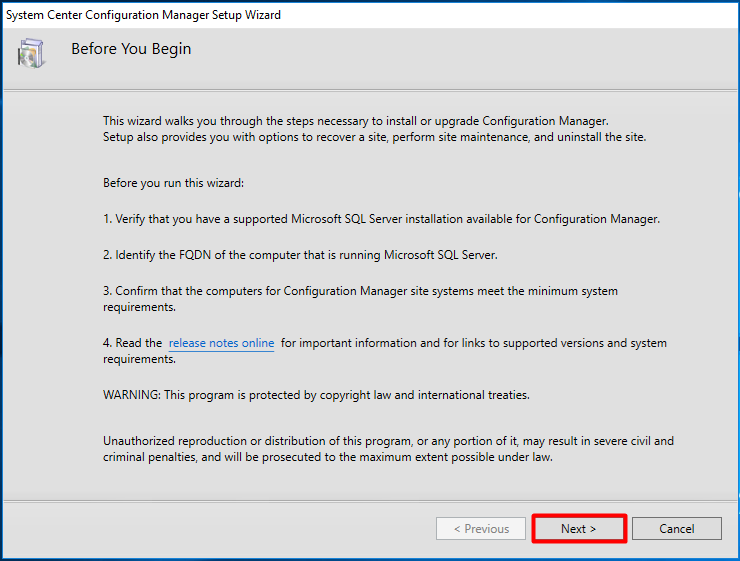
Press “Next” at the “Before You Begin” screen.
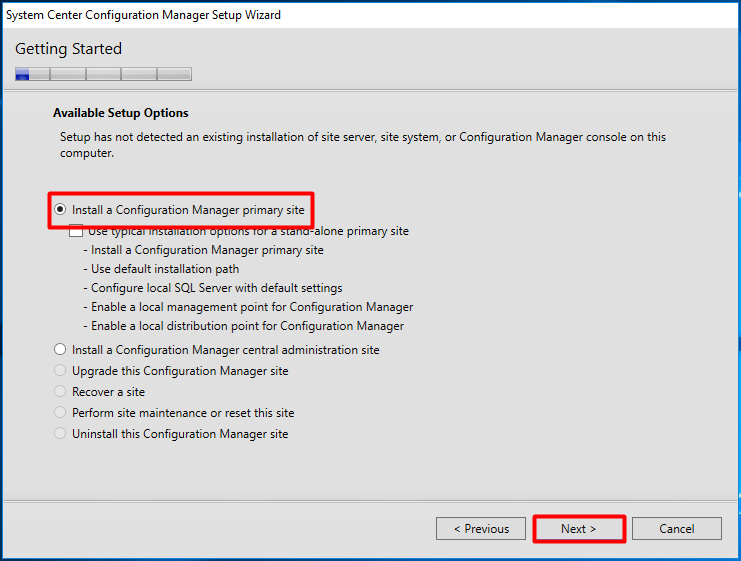
At the “Getting Started” screen, choose “Install a Configuration Manager primary site” and press “Next”.
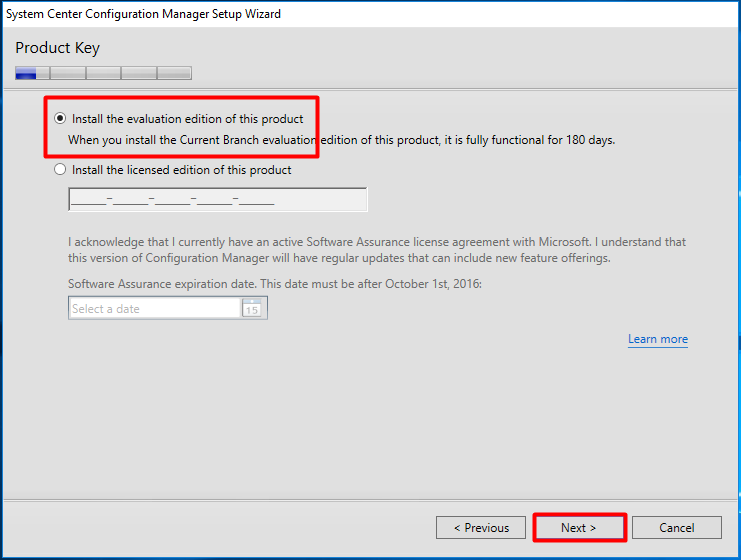
At the “Product Key” screen choose your licensing option. I’m going to install the evaluation version of Systems Manager. If you do have a key, this is the time to insert it. If you want to know more about SCCM licensing, read here: https://docs.microsoft.com/en-us/sccm/core/understand/learn-more-editions.
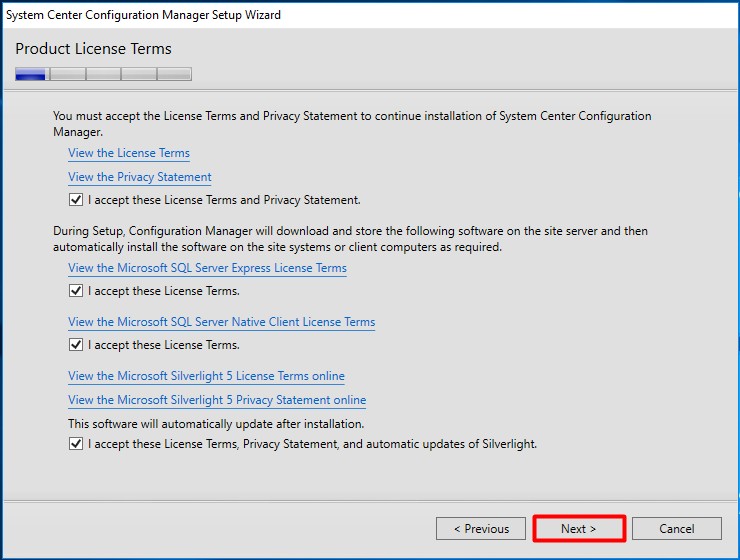
Read and accept all the “Product License Terms” and press “Next”.
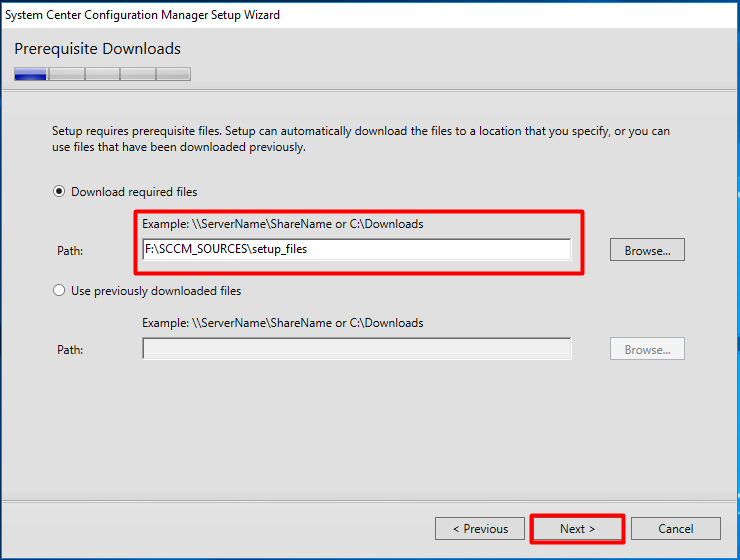
Enter the path to where you want to download the setup prerequisite files and press “Next”. Wait for the download to finish.
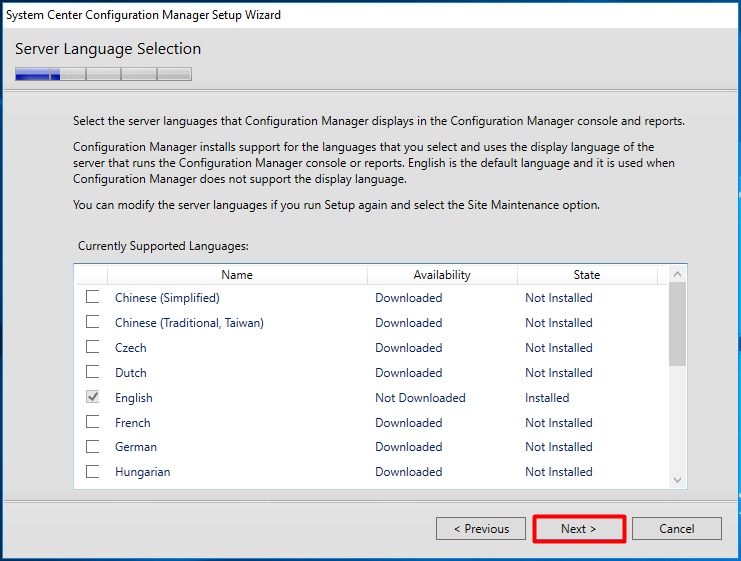
At the “Server Language Selection” I will install only “English”. Press “Next”.
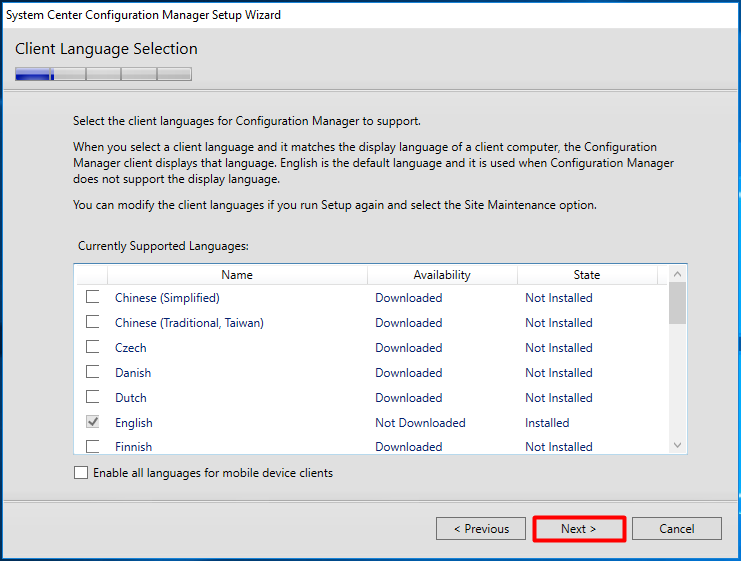
Press “Next” again at the “Client Language Selection” Screen.
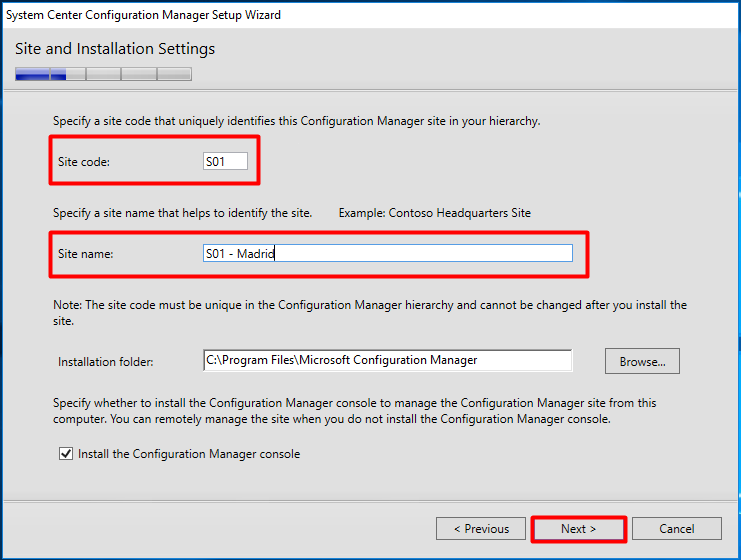
Configure the “Site and Installation Settings”. My “Site code” will be S01 (Site 01) and the at the “Site name” insert a small description for the site.
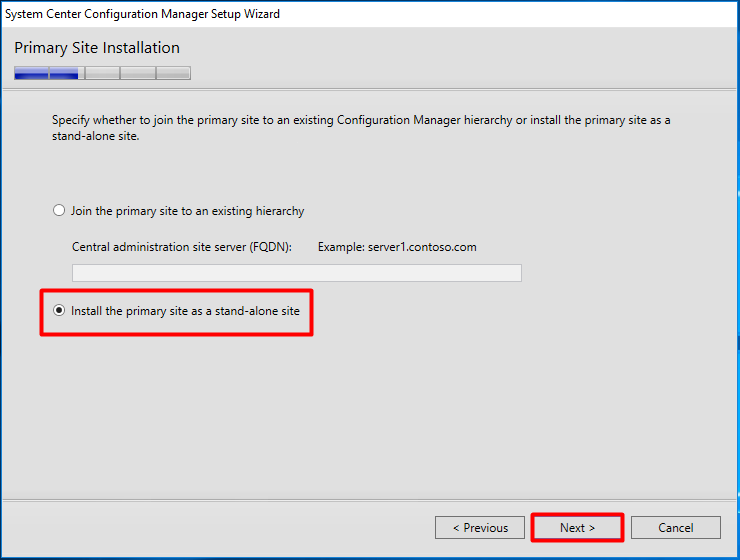
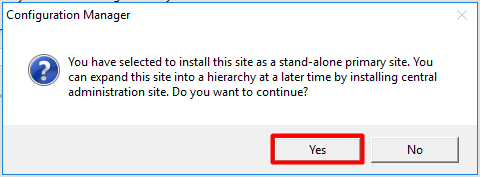
At the next screen choose “Install the primary site as a stand-alone site” and press “Next”.
Press “Yes”.
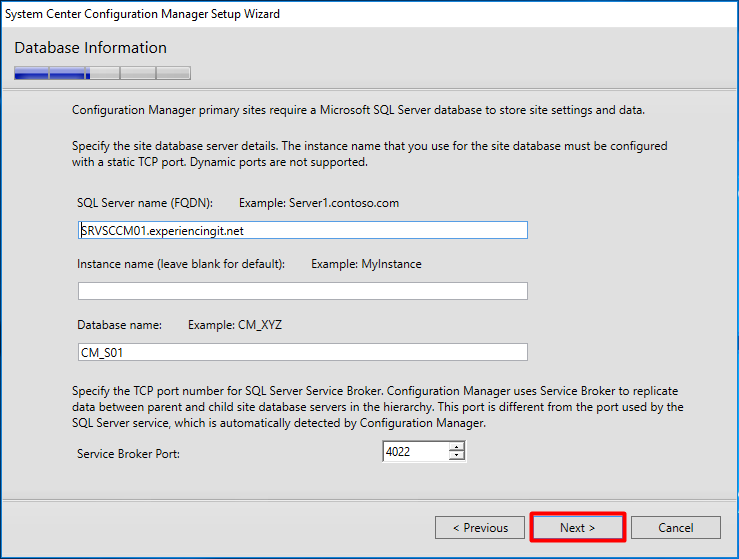
On the “Database Information” screen enter the following and then press “Next”.
- the FQDN of the SQL Server Name. In my case it is the same server as the SCCM server.
- Leave the “Instance name” as default
- Leave the “Database name” as default.
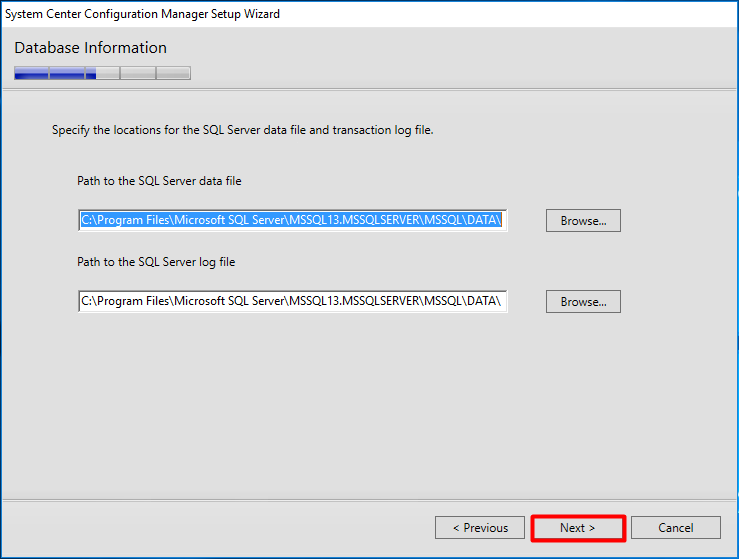
Leave the SQL paths as default and press “Next”.
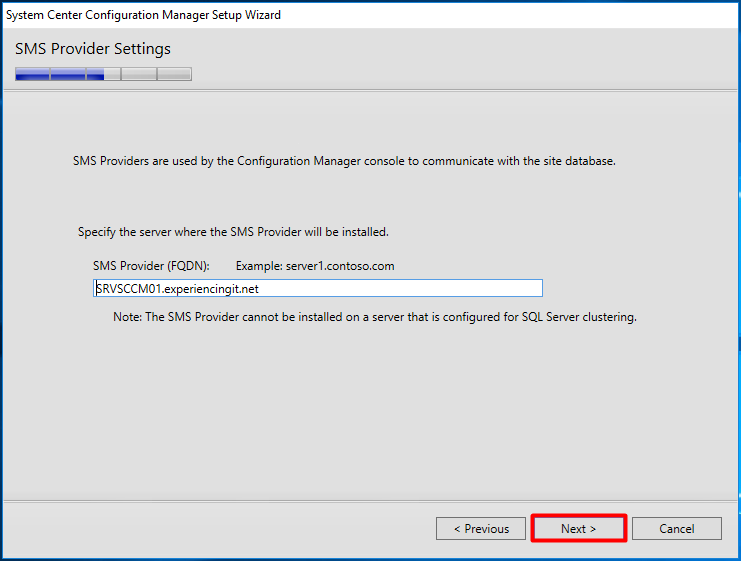
Leave the default SMS Provider and press “Next”.
Select “Configure the communication method on each site system role” and press “Next”.
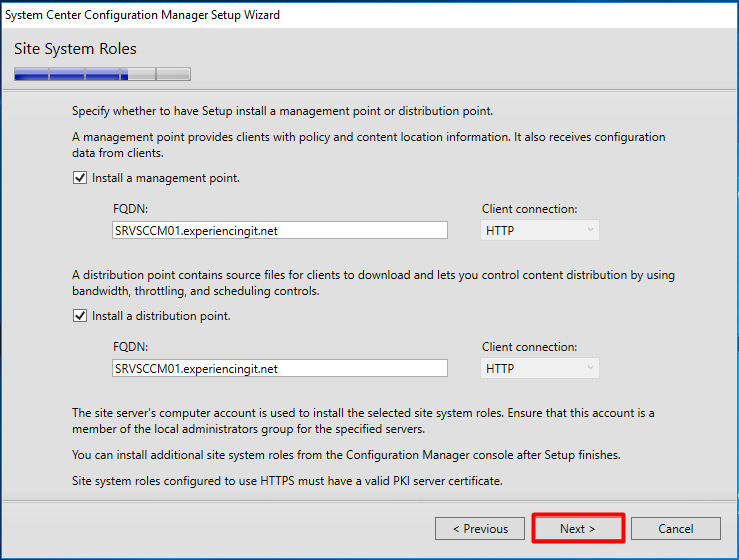
Make sure to select both checkboxes for “Install a management point” and “Install a distribution point”. Press “Next”.
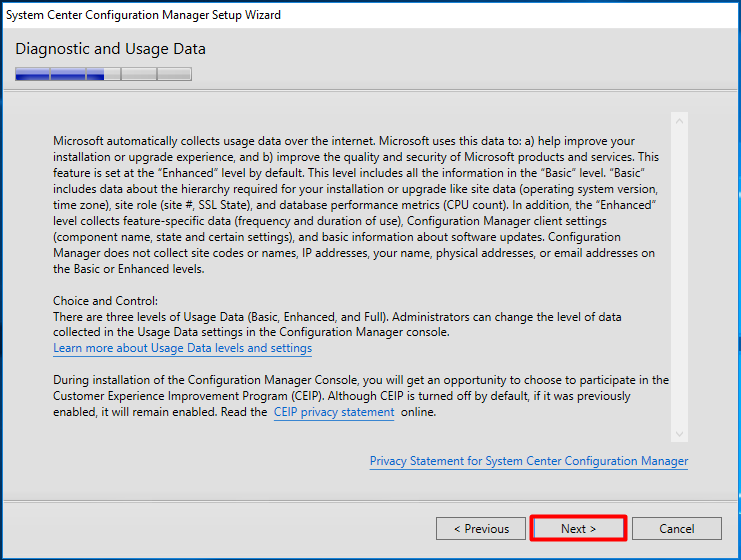
Press “Next” at the “Diagnostic and Usage Data”.
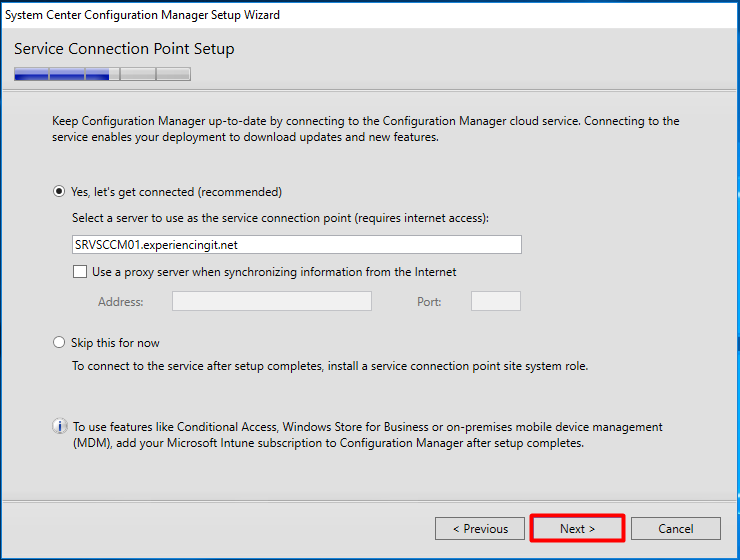
The new “Service Connection Point” role allows our SCCM deployment to download updates and new features. Read more about it here. Press “Next”.
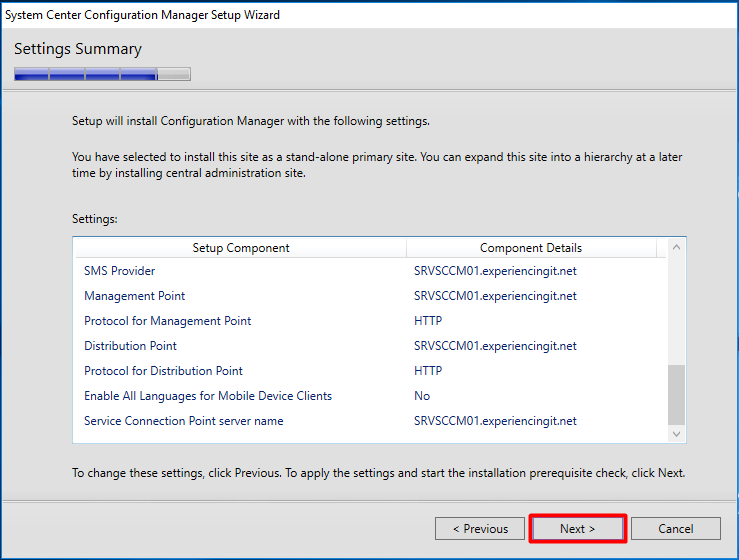
Review the “Settings Summary” and press “Next”.
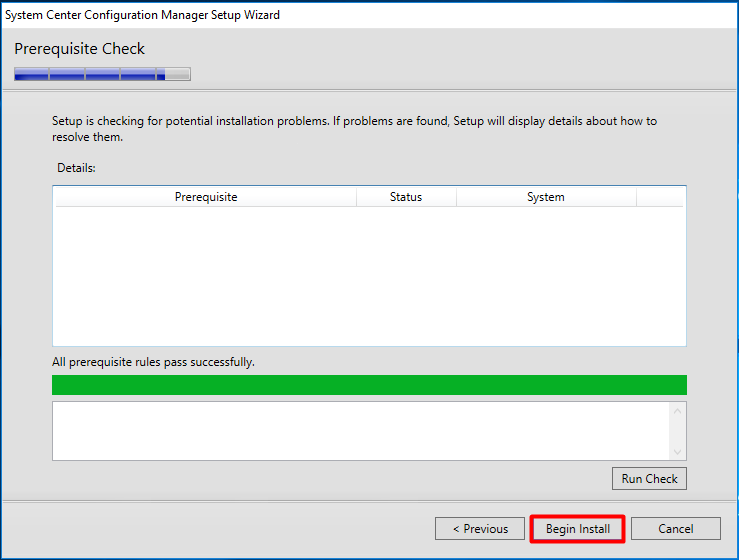
Wait for the prerequisites check to complete. Hopefully all prerequisite rules pass successfully. Press “Begin Install”.
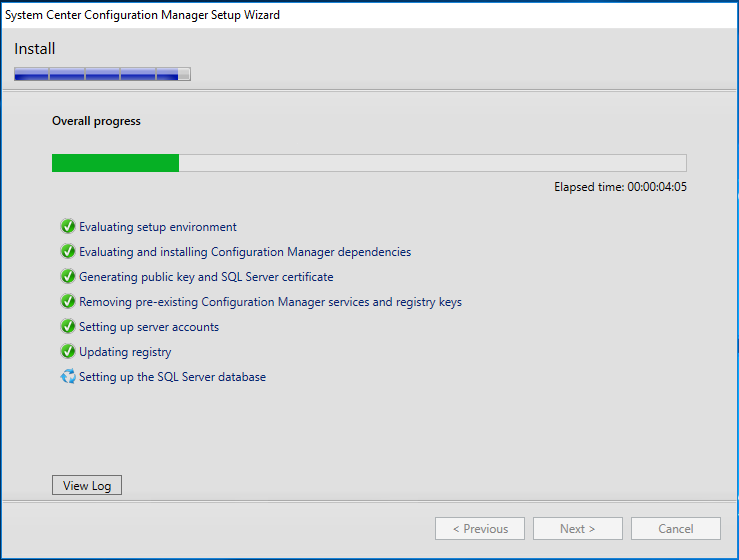
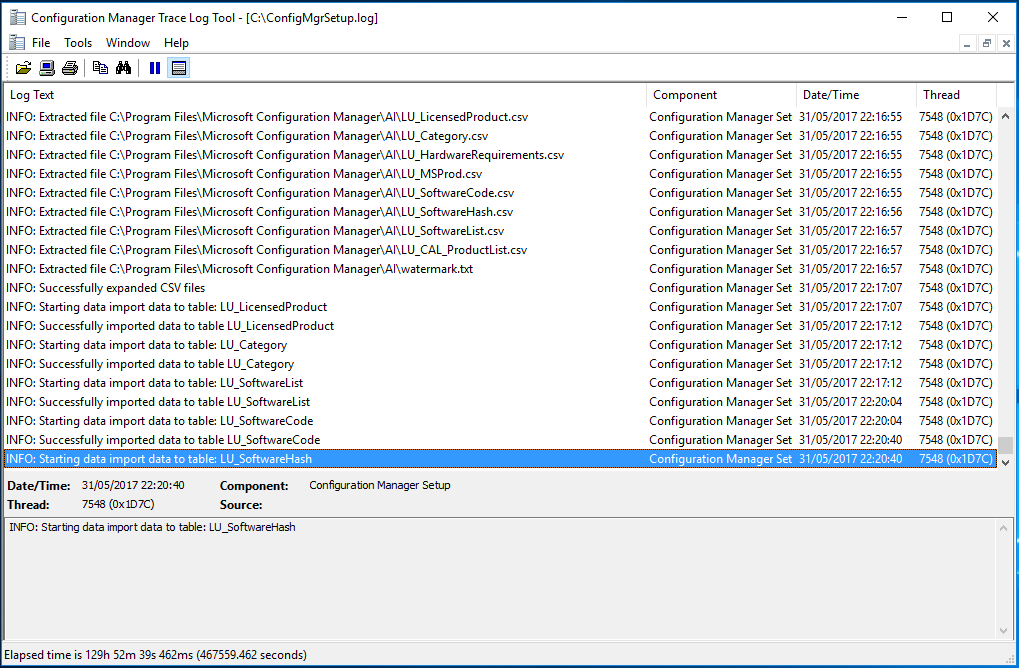
Wait for the setup program to finish. As it might take a while, have a look at the installation log file by pressing the button “View Log” (Notepad) or by using the CMTrace log viewer, a real time log analyzer, available in the \SMSSETUP\TOOLS folder of your SCCM media. The setup log file is being saved at C:\ConfigMgrSetup.log.
| Note: During the setup it is also advisable to have a look at the sitecomp.log, located at <SCCM Installation Path>\Logs. In this log file is recorded all activity regarding the site components installation. Even if it looks that your SCCM installation is staled, in this log you’ll be able to see what is happening with each component installation. |
CMTrace Log Viewer pointing to the installation log file.
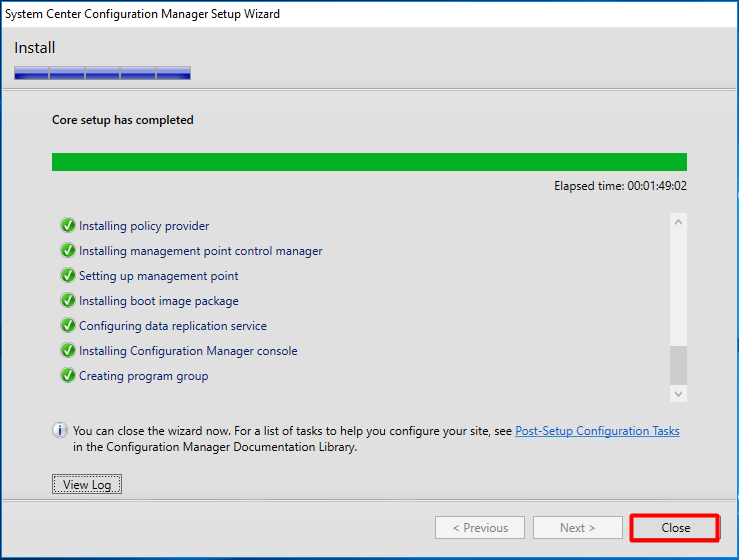
After a lengthy installation process, you can press “Close” and the installation is done.
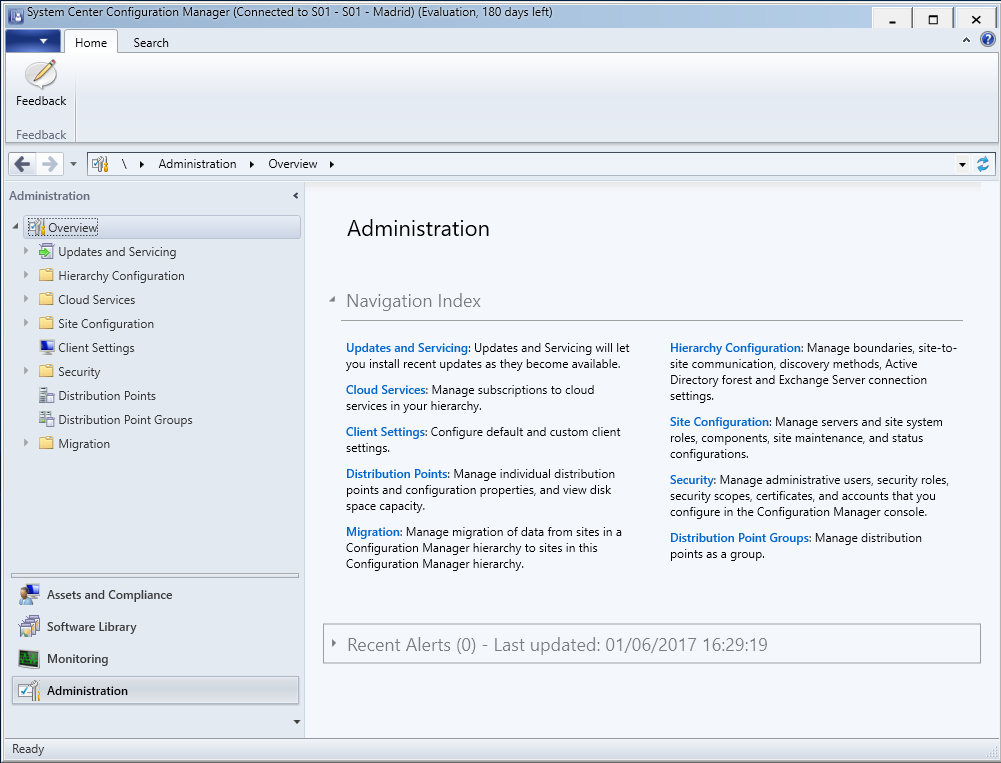
Open the “Configuration Manager Console” and we’re done! We have just finished installing SCCM Current Branch!
This post concludes our series of posts about installing System Center Configuration Manager. I will continue to write about SCCM, so please stay tuned for the next posts!
UPDATE: The next step after installing SCCM, I’d say it is to update the tool to the latest version, if it exists. For that please read this post.
As always, if you found this article useful, share it with your friends.
If you have any questions or suggestions, leave your comment.
Thank you for reading!






Good post. I learn something new and challenging on websites I stumbleupon everyday.
It’s always useful to read articles from other writers and
practice something from their sites.
Pingback:SCCM Installation Guides - ExperiencingIT