Install SQL Server 2016 Reporting Services
Introduction
In this article I will install SQL Server 2016 Reporting Services. I will then install, in a future post, the SCCM Current Branch Reporting Services Point so that I can run reports in SCCM!
So, let’s get to it!
Install SQL Server 2016 Reporting Services
If you haven’t yet an instance of SQL Server 2016 installed, please read how to install SQL Server 2016. If you already have an instance of SQL Server installed, continue reading.
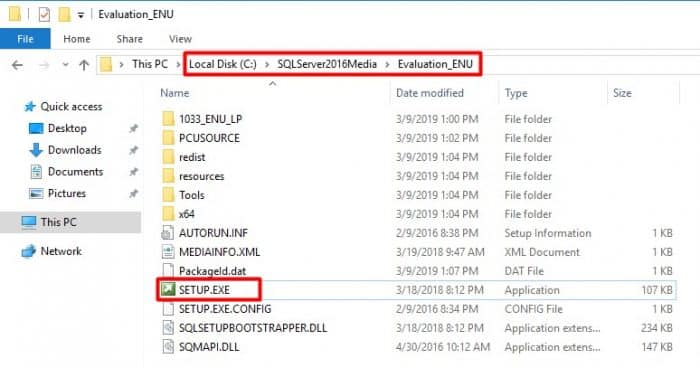
Browse to the location where you downloaded the SQL Server media and run SETUP.EXE.
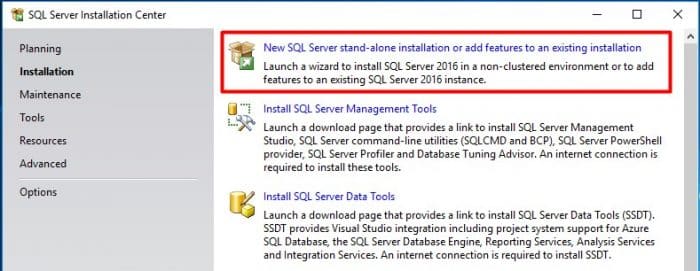
Click on “Installation“.
Click on “New SQL Server stand-alone installation or add features to an existing installation“.
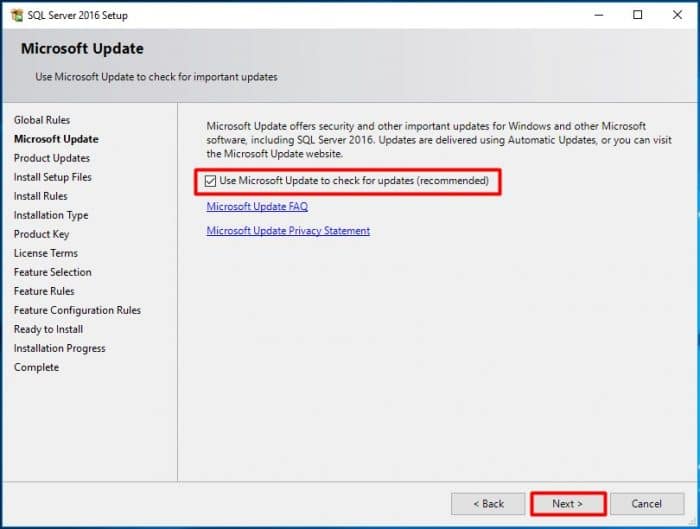
If you want Microsoft Update to check for updates, check the corresponding checkbox and press “Next”. Otherwise, just press “Next“.
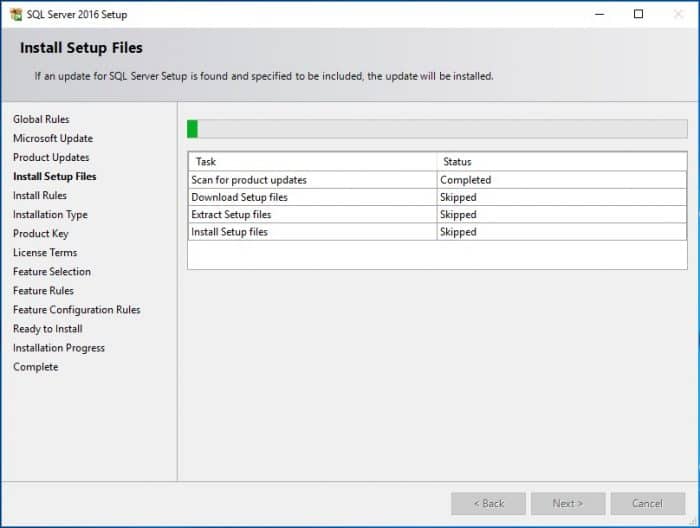
SQL Server setup will now check for updates.
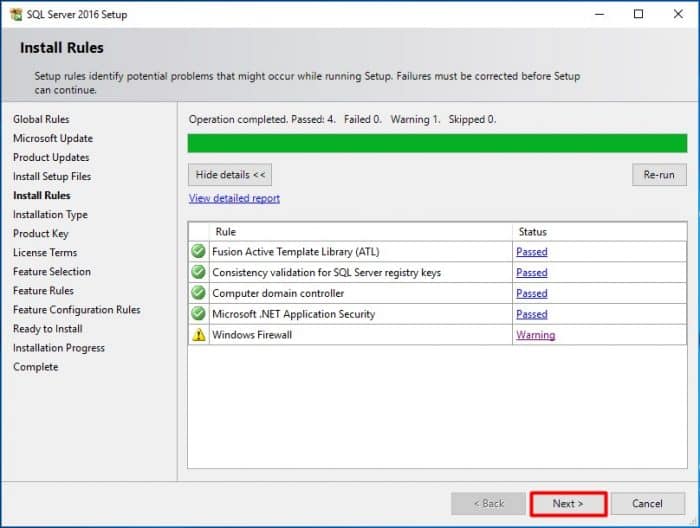
And it will check if the computer is ready to resume the setup. If you get any warning you’ll have to click on the link corresponding to the warning, under the Status column. If you only get the Windows Firewall warning, never mind about it. That is covered in the article Install SQL Server 2016, which I believe you read before coming here. Click “Next“.
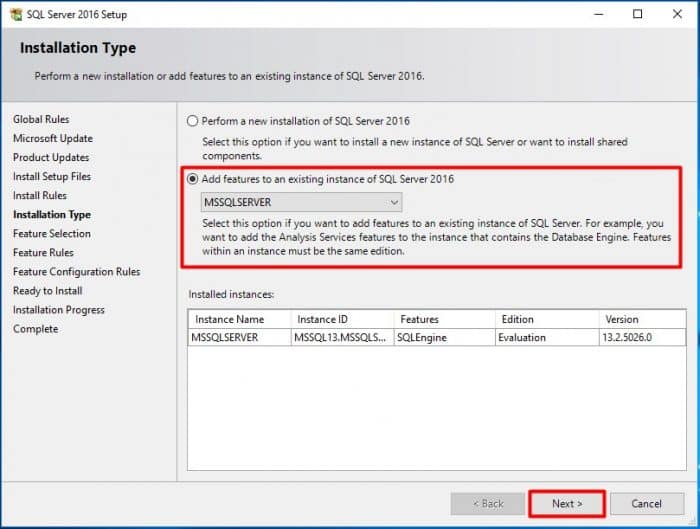
Select “Add features to an existing instance of SQL Server 2016“, choose the appropriate SQL Server instance and click “Next“.
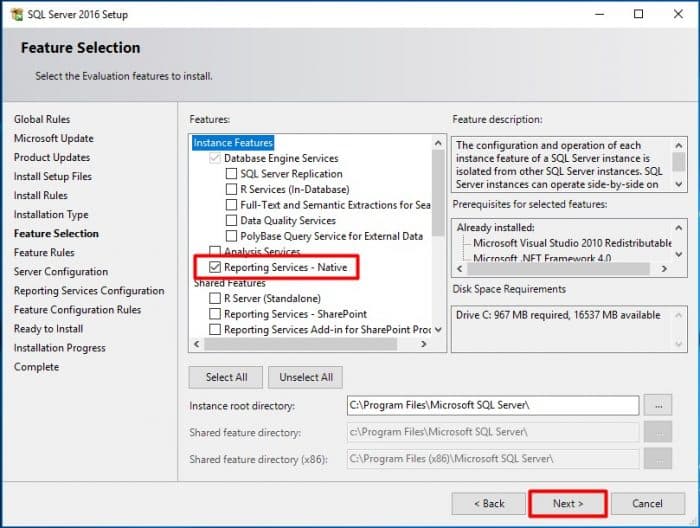
Select “Reporting Services – Native” and press “Next“.
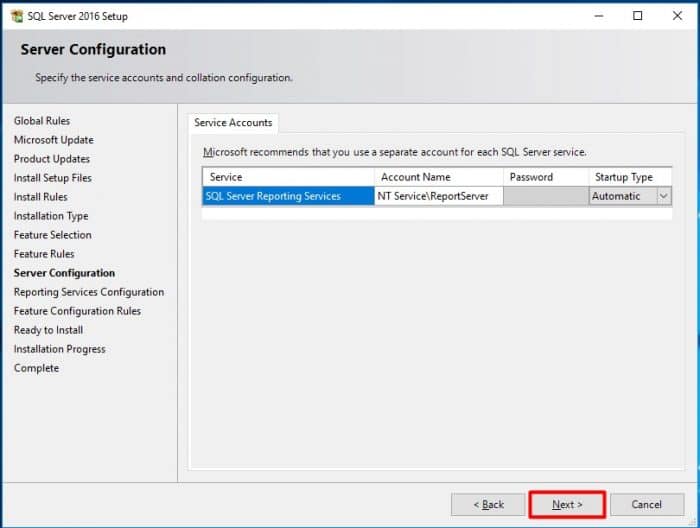
Leave the default service account and click “Next“.
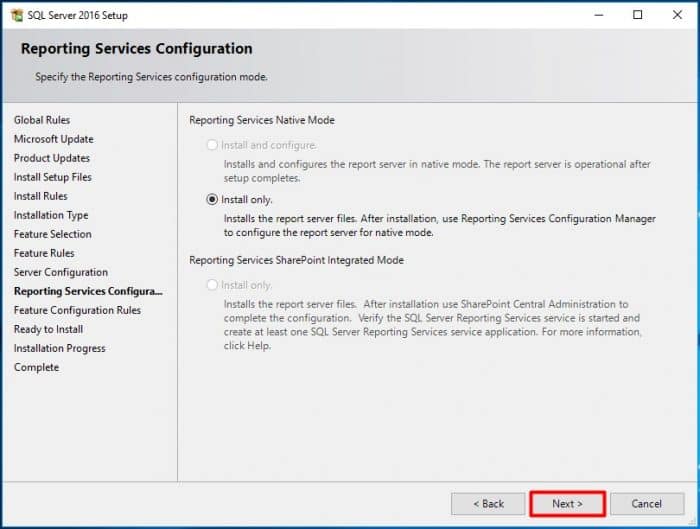
Click “Next”
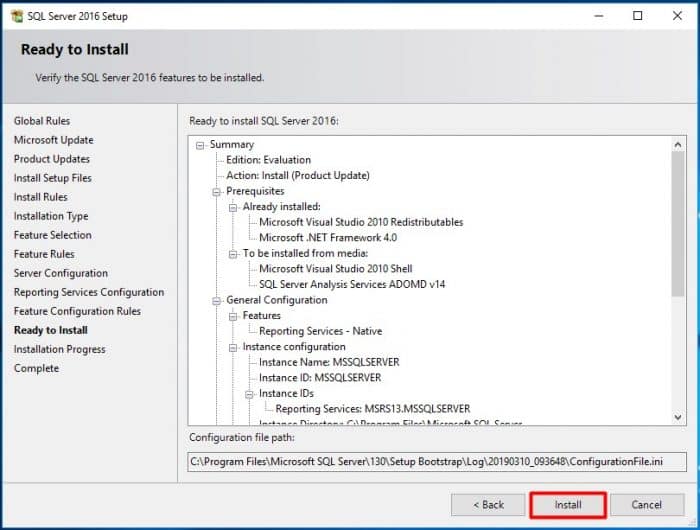
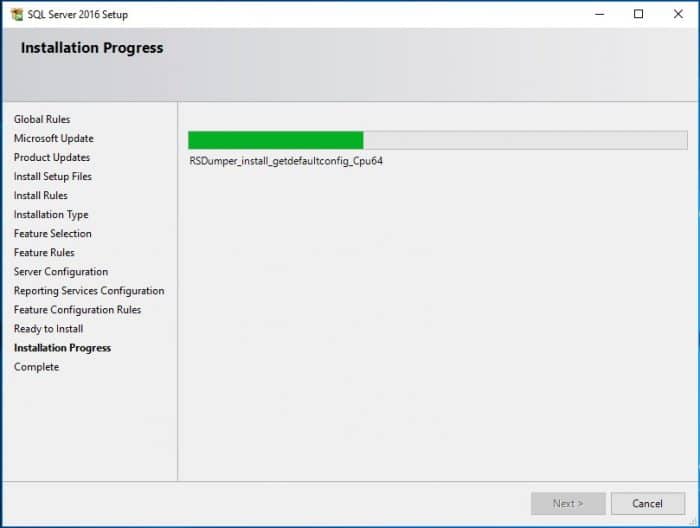
Click on “Install” and wait.
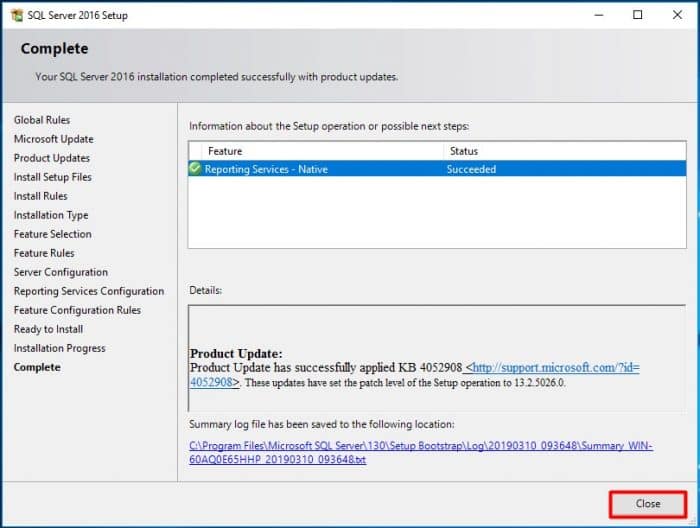
When the installation finished, click on “Close” to exit the wizard.
Configure SQL Server Reporting Services
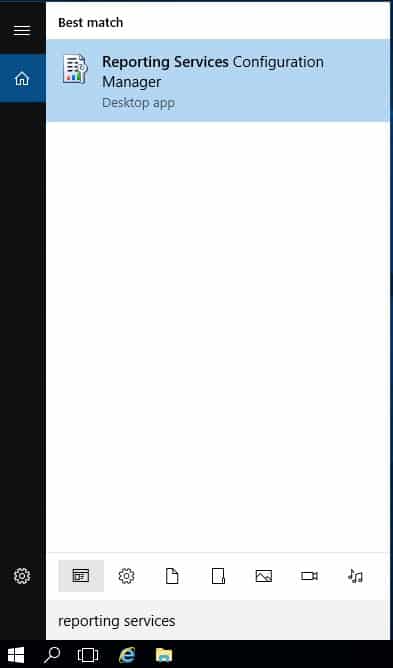
Click on the “Start Menu” and search for “Reporting Services Configuration Manager“. Open it.
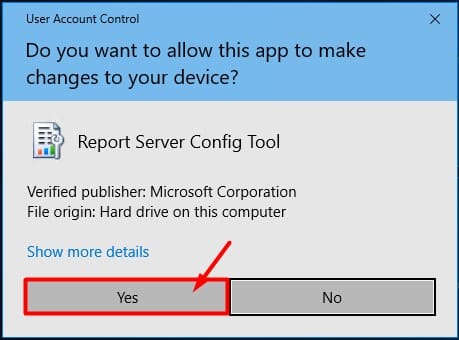
If you get an UAC prompt, just click on “Yes“.
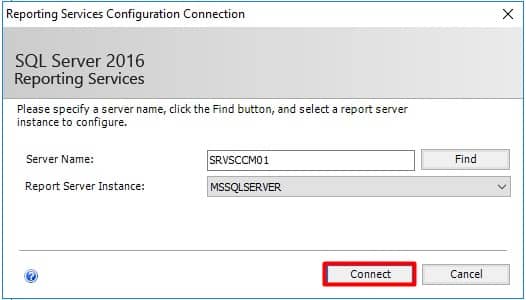
Choose the SQL instance and click “Connect”.
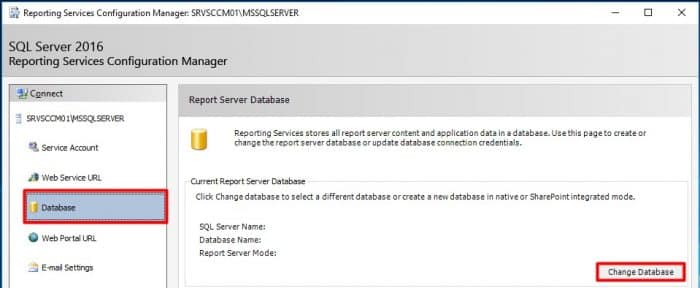
On the left-hand side menu, click on “Database” and then on “Change Database“.
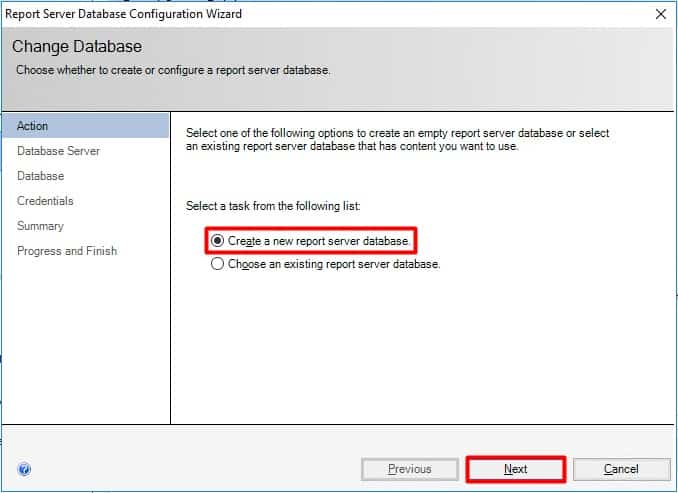
Select “Сreate a new report server database.” and click “Next“.
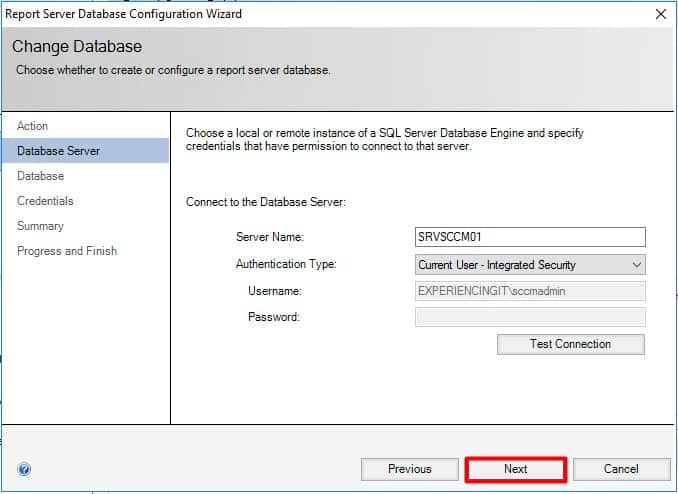
Click “Next“.
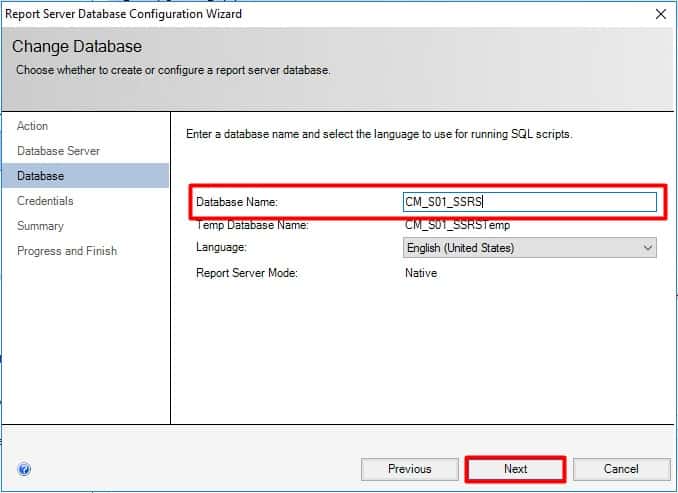
Name the report database. In this case, my goal for installing SQL Server Reporting Services is to be able do run reports against the SCCM database so, I’m calling it CM_S01_SSRS, being CM_S01 the name of the SCCM database and SSRS the acronym for SQL Server Reporting Services. Click “Next“.
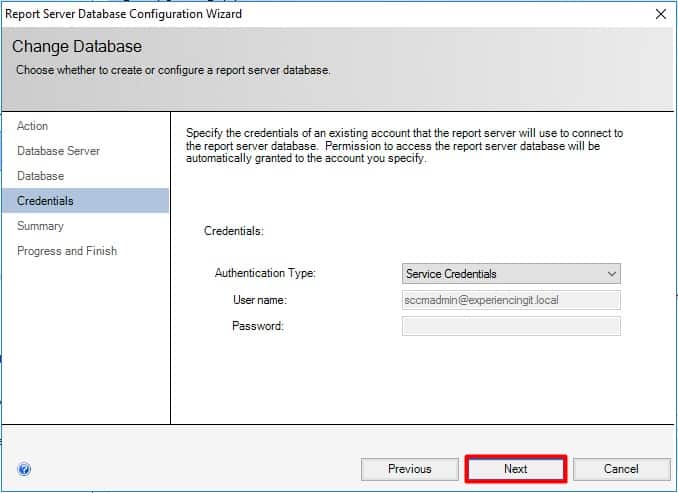
Click “Next“.
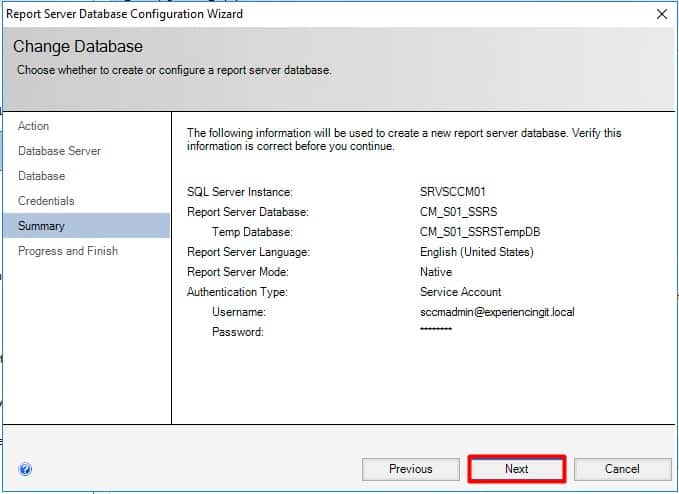
Verify that all information is correct and click on “Next“.
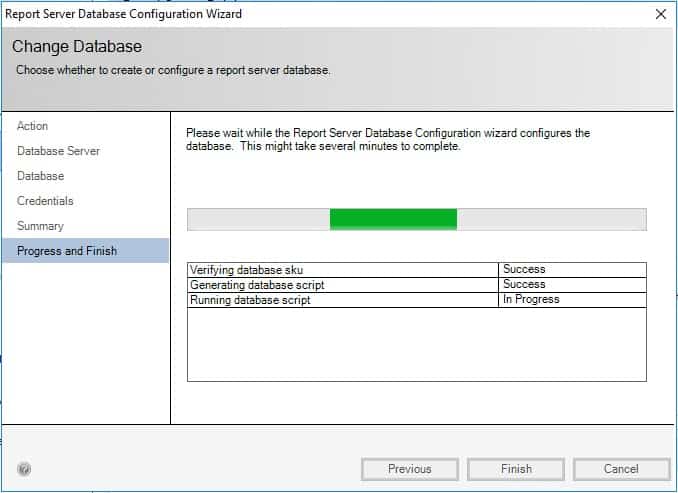
Wait while the wizard does his job!
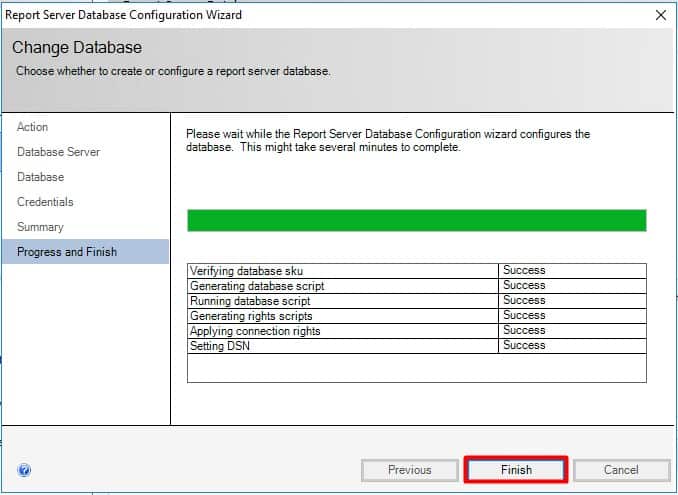
And click “Finish” once done!
Confirm the Web Service URL
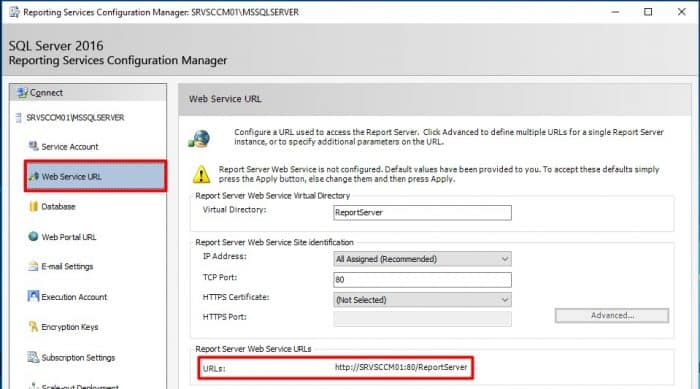
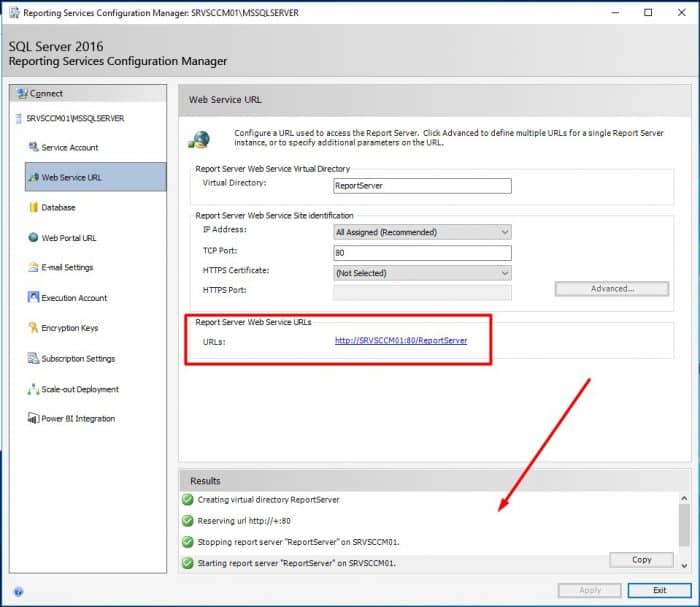
Back to the “Reporting Services Configuration Manager” window, click on “Web Service URL” and click on “Apply“. Not seen in the picture below – sorry.
After clicking the “Apply” button, a series of messages will be displayed on the bottom “Results” pane. If all goes well, the virtual directory and the URL are created.
After it has finished, click “Exit” to exit “Reporting Services Configuration Manager”.
And that’s it! In the next article I will install SCCM Current Branch Reporting Services Point role.
As always, if you found this article useful, share it with your friends.
If you have any questions or suggestions, leave your comment.
Thank you for reading!






thanks for the wonderful article