Install ADDS on Windows Server 2016 using Server Manager
Introduction
In this article I will install ADDS on Windows Server 2016. According to Microsoft, ADDS, or Active Directory Domain Services, provides the methods for storing directory data and making this data available to network users and administrators.
Read more about ADDS here: https://docs.microsoft.com/en-us/windows-server/identity/ad-ds/get-started/virtual-dc/active-directory-domain-services-overview.
Prerequisites
Before installing, there are a few prerequisites that our server must meet:
- Rename your server.
- Set a static IP address.
- Have a DNS server installed on your network (or, while setting up your AD Forest, the setup wizard will ask you to add the role to the same server where you are installing ADDS – and that’s exactly how I’m going to do it here.)
Install ADDS (Active Directory Domain Services)
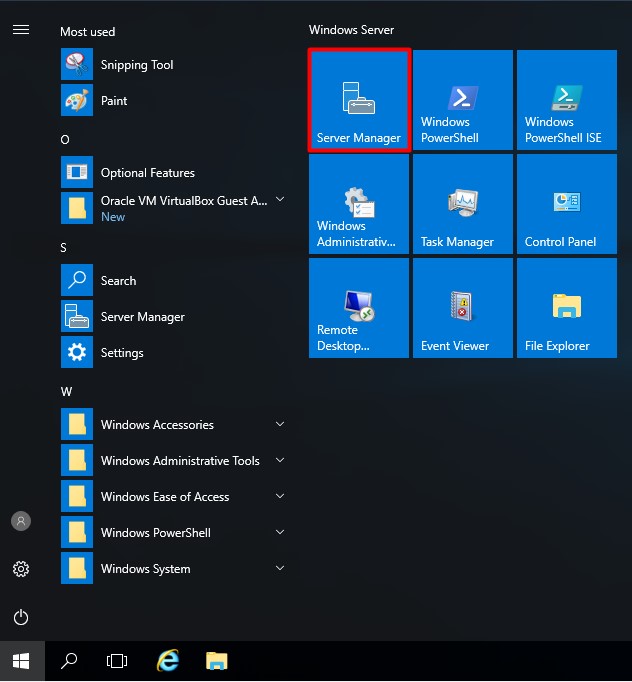
Assuming that you have all set-up and ready let’s open “Server Manager”. Click on Start and then “Server Manager”, as shown below:
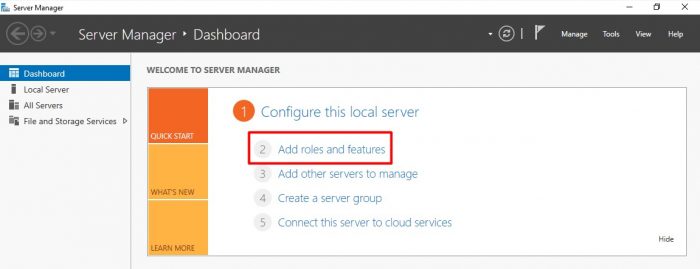
Click on “Add roles and features”.
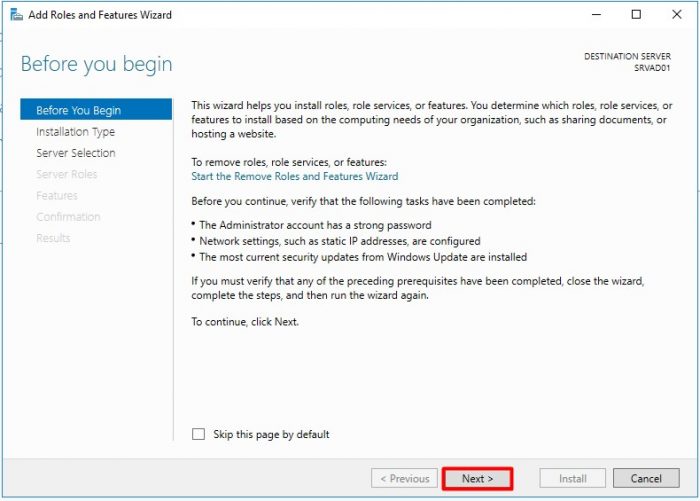
Press “Next”
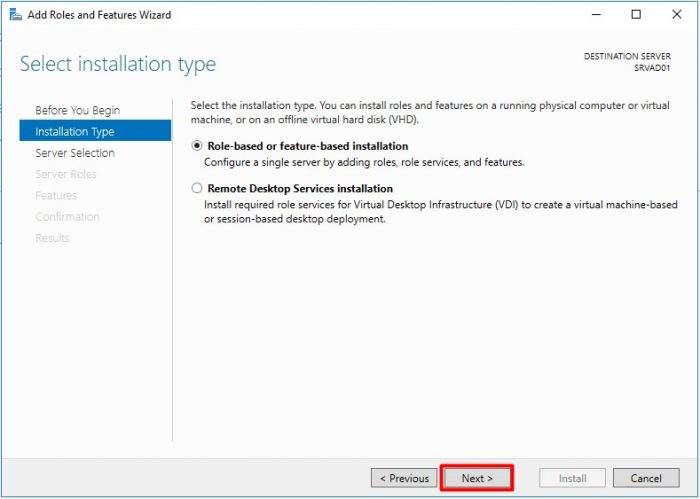
Select “Role-based or feature-based installation” and press “Next”
Leave the selection as default and press “Next”
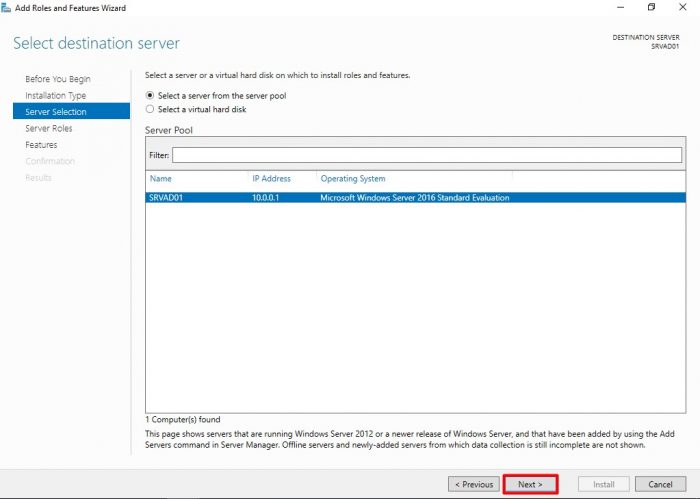
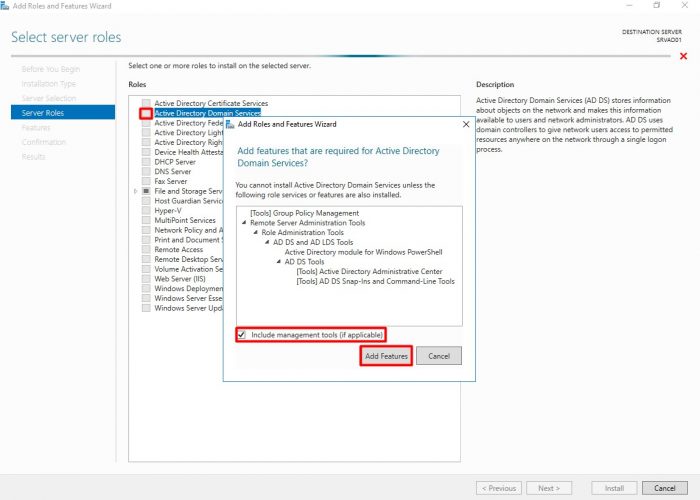
Check “Active Directory Domain Services”. The wizard will let you know that some additional features are required for Active Directory. Check the “Include management tools (if applicable)” checkbox and press ” Add Features”. Press “Next”.
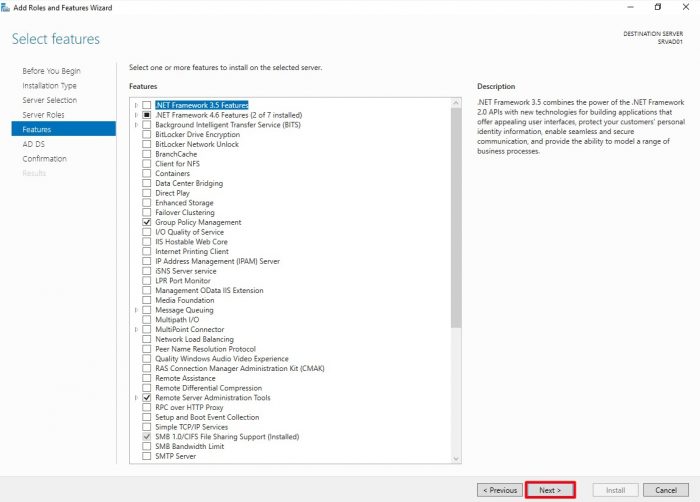
At the next screen press “Next”.
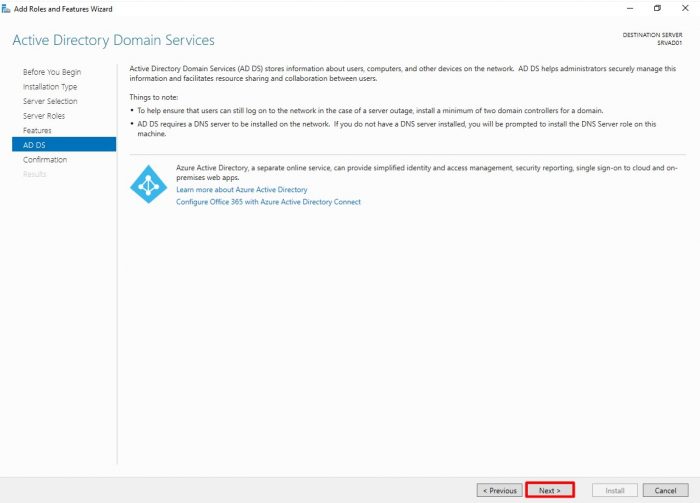
Press “Next”.
Finally, press “Install”.
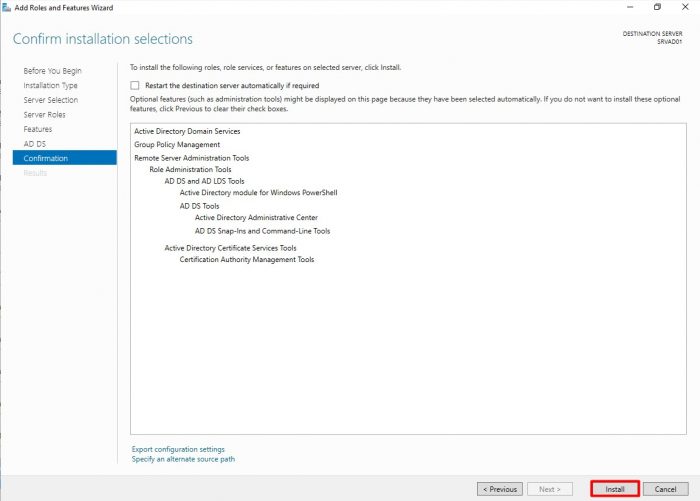
Promote to Domain Controller
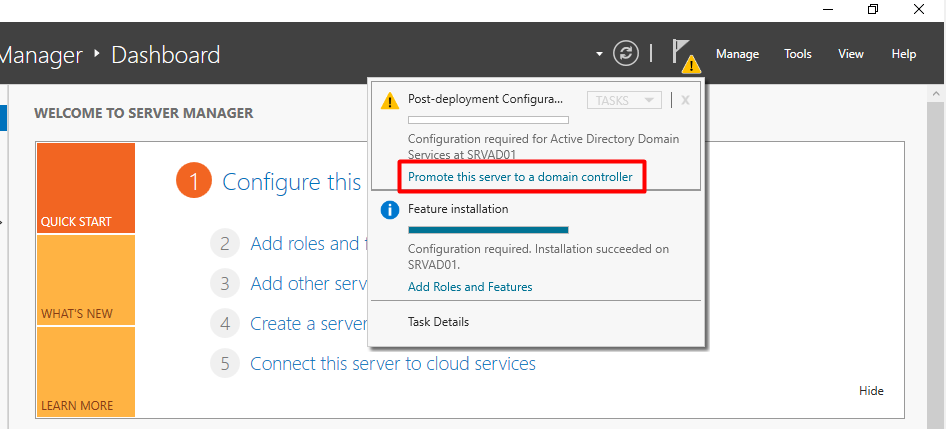
Wait for the installation to finish. Now it’s time to promote the server to a Domain Controller and setup our AD forest. From “Server Manager” select “Promote this server to a domain controller”.
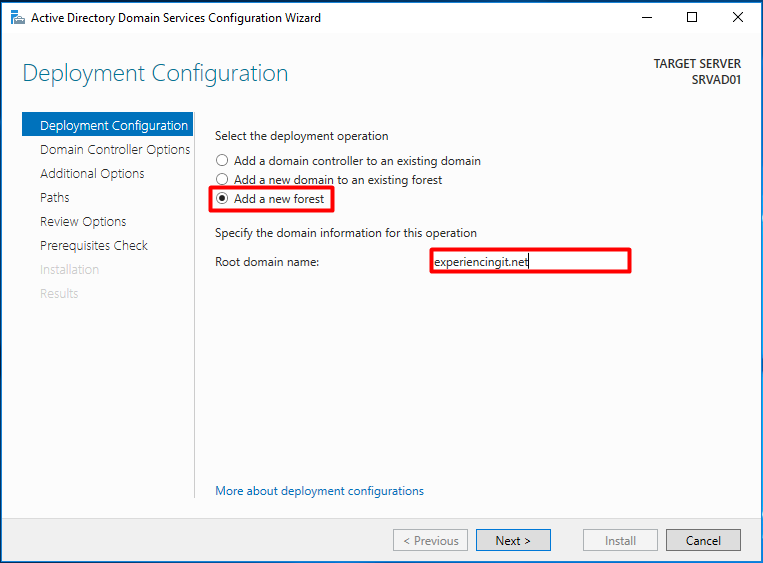
Choose “Add a new forest” and choose your “Root domain name”.
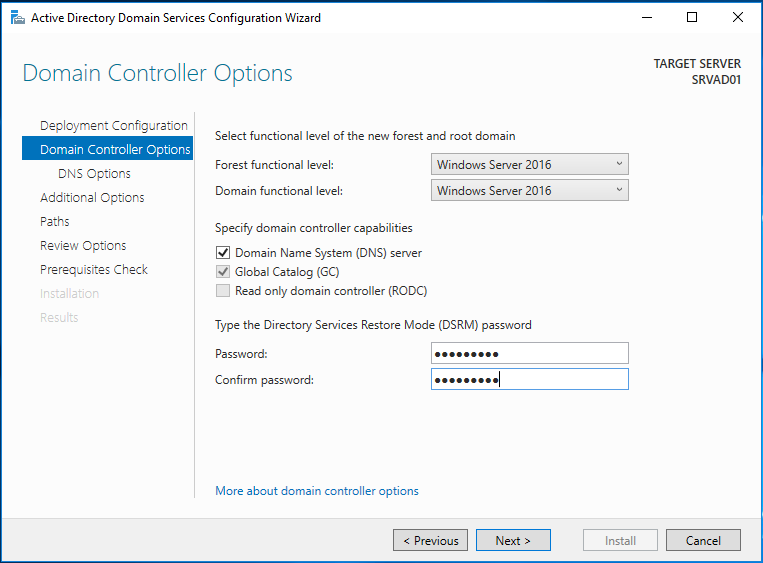
Select your Forest functional level (FFL) and the Domain functional level (DFL). Read more about FFL and DFL here: https://docs.microsoft.com/en-us/windows-server/identity/ad-ds/windows-server-2016-functional-levels.
Set the “Direstory Services Restore Mode” password and press “Next”.
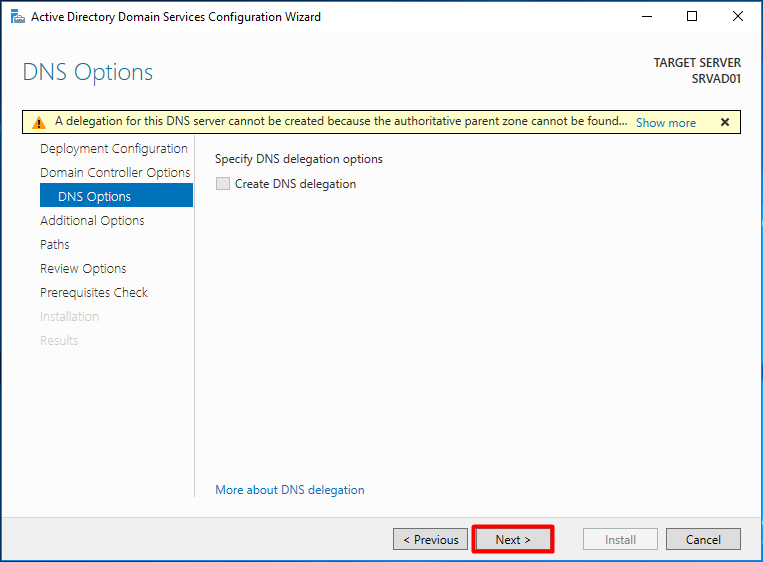
Press “Next”. You can safely ignore the DNS server message.
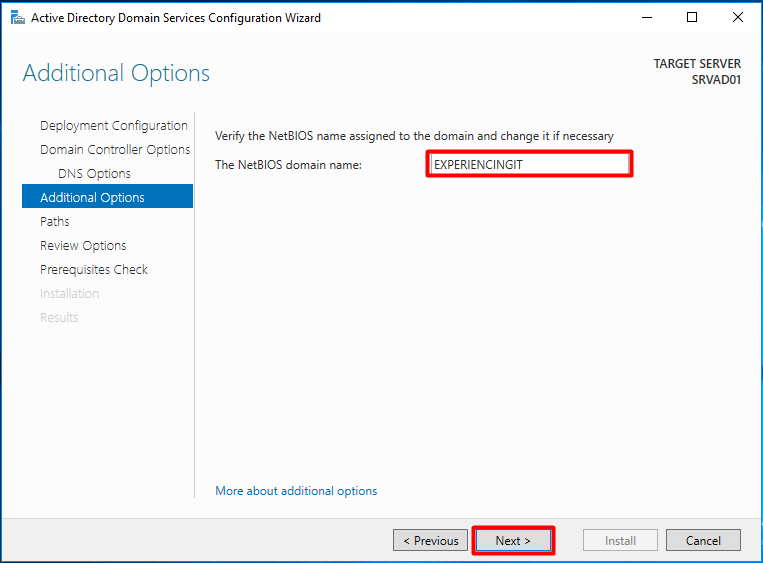
Choose the Netbios Domain Name and press “Next”.
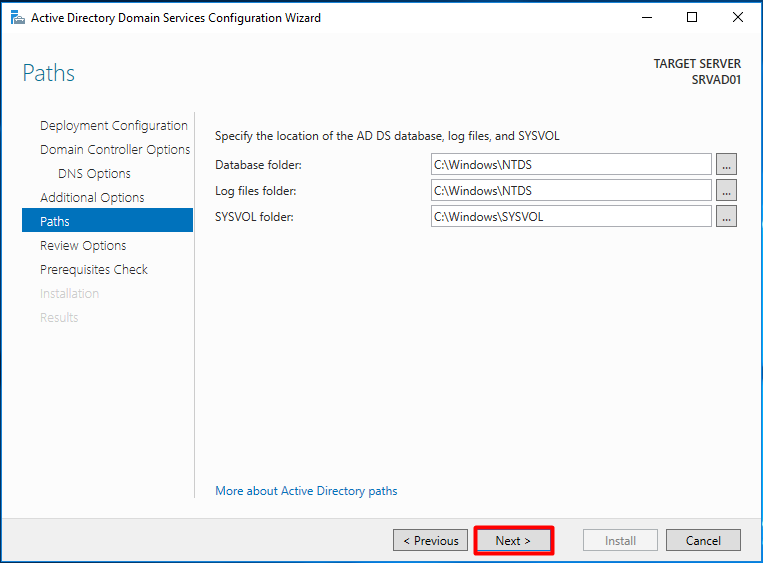
Press “Next” at the following screen.
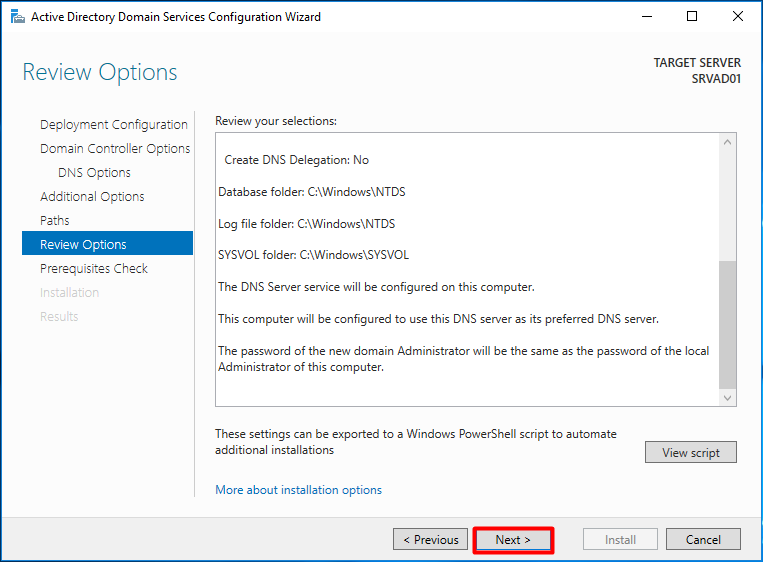
Review your options and press “Next”.
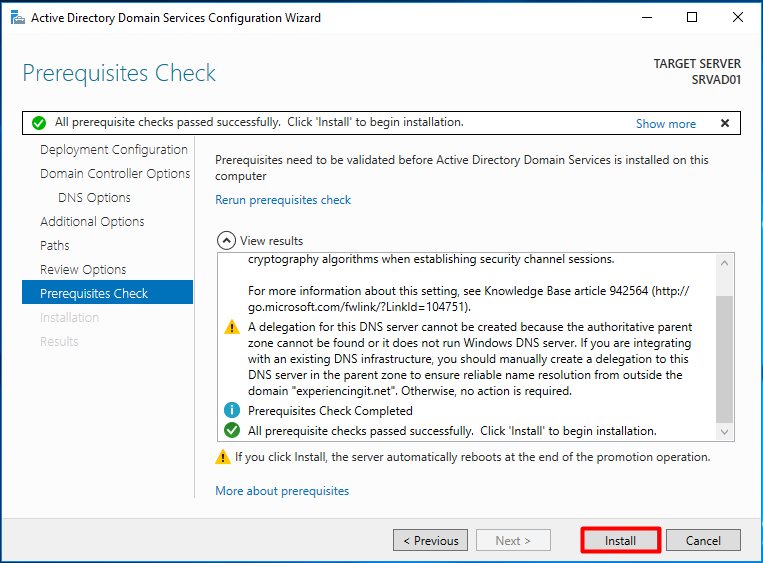
The warning messages can be safely ignored. Press “Install”.
Verifying
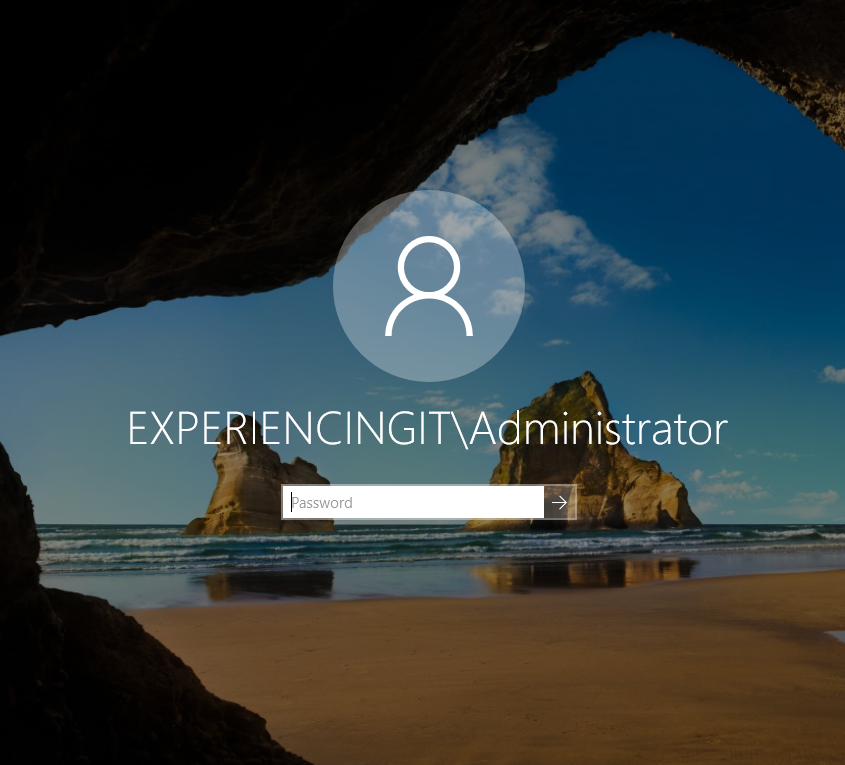
After the installation completed, you can now logon as the Domain Admin of the newly created AD Forest.
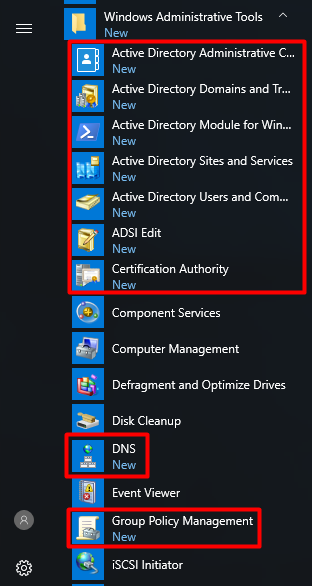
And, as you can see, we have a few newly installed consoles:
This could also be accomplished using Powershell. For a guide on that please read:
https://www.experiencingit.net/powershell/deploy-adds-windows-server-powershell/
As always, if you found this article useful, share it with your friends.
If you have any question or suggestion, leave your comment.
Thank you for reading!





Pingback:Install Windows Server 2016 – ExperiencingIT
Pingback:Install SCCM Current Branch - Part 1 - SCCM Lab Setup – ExperiencingIT