Powershell: Change Windows 10 Updates Download Folder Location
Introduction
In a previous article, I’ve shown you how to change the location of the Windows updates download folder, using the GUI. In this one, I’m going to do it using Powershell. Remember that you’ll need to have at least two partitions on your computer or two different hard drives for this process to make sense. What we’re trying to achieve here is to save some valuable space on our system drive.
So, let’s get to it!
Open an admin Powershell prompt
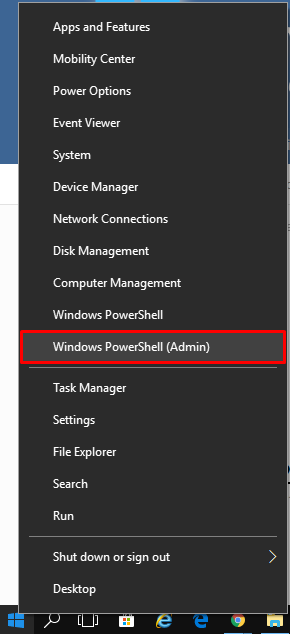
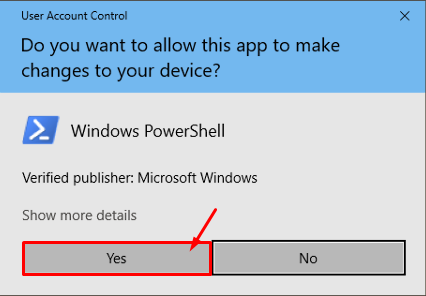
Open a Windows Powershell admin. Right-click the “Start Menu” and click on “Windows Powershell (Admin)“. If an UAC prompt pops-up, click “Yes”.
Determining the new folder location
List Volumes
To determine what volumes you have and their free space, type
Get-Volume
As it is possible to see from the image above, I have a volume, which is called “Dados” (Drive D), that has about 372 GB free. This is where I’ll be creating the new folder to store the updates.
Stopping the relevant services
Stopping the Windows update service (wuauserv)
Type
Stop-Service wuauserv -Force
and to determine the service status, type
Get-Service wuauserv
Stopping the BITS service
Type
Stop-Service BITS -Force
and again, to determine the service status, type
Get-Service BITS
Delete the old updates download folder
Execute the following code, line by line
| Sorry for the next piece of code not being properly highlighted but the plugin I’m using to highlight code, somehow, doesn’t work properly with double quotation marks. Probably I could use single quotation marks, but I’ll have to leave it for another time. |
$qm = """"
$deletefolder = "rmdir " + $qm + "C:\Windows\SoftwareDistribution" + $qm + " /S /Q"
cmd /c $deletefolder
Create the link to the new folder
Type, line by line
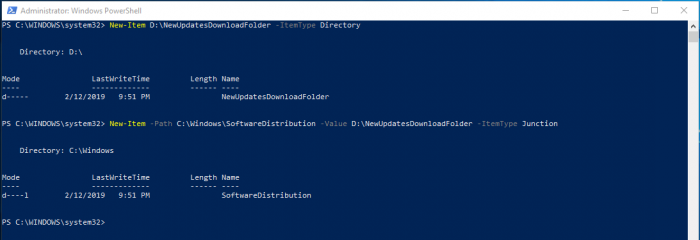
New-Item D:\NewUpdatesDownloadFolder -ItemType Directory
New-Item -Path C:\Windows\SoftwareDistribution -Value D:\NewUpdatesDownloadFolder -ItemType Junction
The result should be as follow:
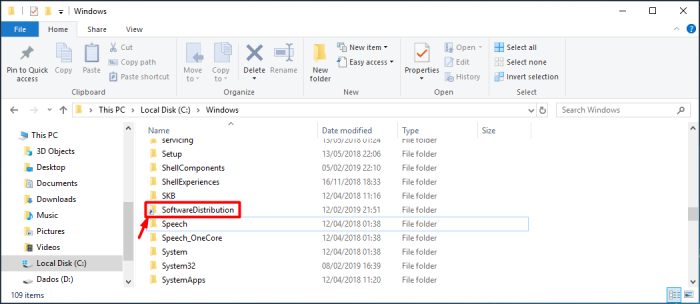
A new folder with a shortcut icon is now in C:\Windows
Start the services
To start the services type, line by line
Start-Service BITS
Start-Service wuauserv
To verify that the services started correctly type:
Get-Service BITS
Get-Service wuauserv
And that’s it! Opening the folder “D:\NewUpdatesDownloadFolder” you’ll see that the Windows update service already started to populate the folder.
As always, if you found this article useful, share it with your friends.
If you have any questions or suggestions, please leave your comment.
And… Thank you for reading!


