Install Windows Server 2016
Introduction
Being Windows Server 2016 my OS of choice to install in my labs, I decided that my first article would be exactly, how to install Windows Server 2016.
After install WIndows Server 2016, I will add the Active Directory Domain Services (ADDS), but I will leave for a future post.
Right now, I’m using Virtualbox to install the OS. You can download Virtualbox using this link https://www.virtualbox.org/wiki/Downloads. The evaluation version of Windows Server 2016 can be downloaded here: https://www.microsoft.com/en-us/evalcenter/evaluate-windows-server-2016.
To boot the ISO, you’ll have to record it, either to a DVD, or to to a USB drive. If you’re looking how to create a bootable USB drive with Windows Server 2016, you can find here or here how to. If you are using a VM, and in this specific case, Virtualbox, you must “insert” the ISO into the virtual DVD drive of your virtual machine.
With all this ready, it’s time to….
Install Windows Server 2016
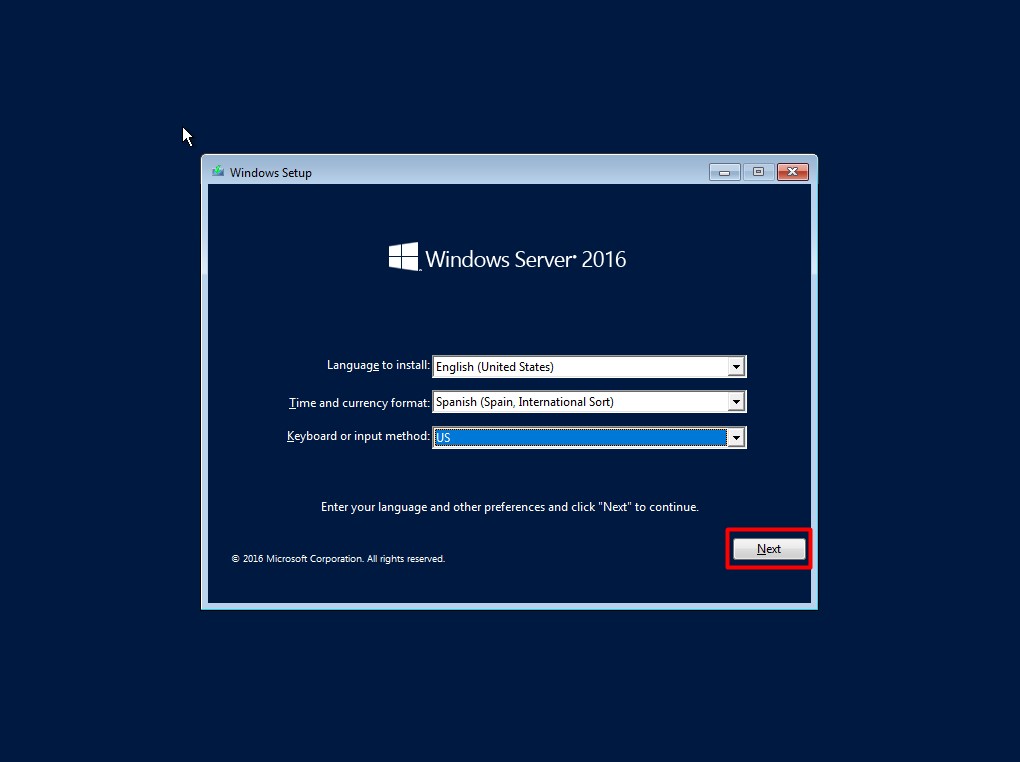
On the first screen, choose accordingly to your needs and click “Next”.
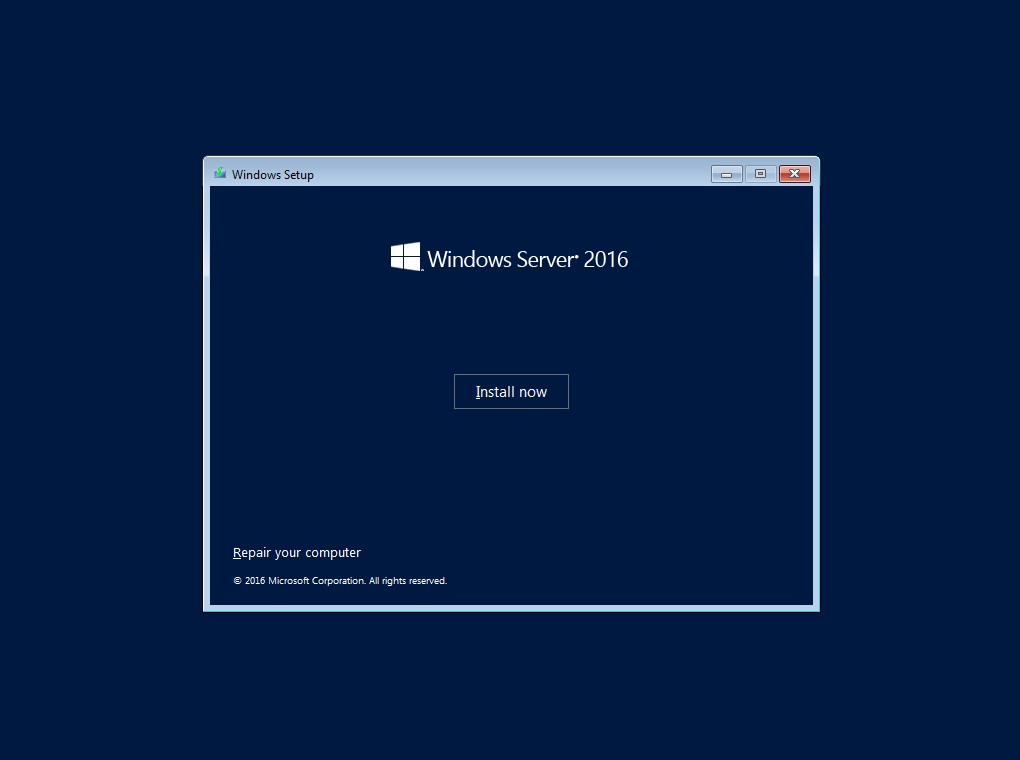
Click “Install Now”.
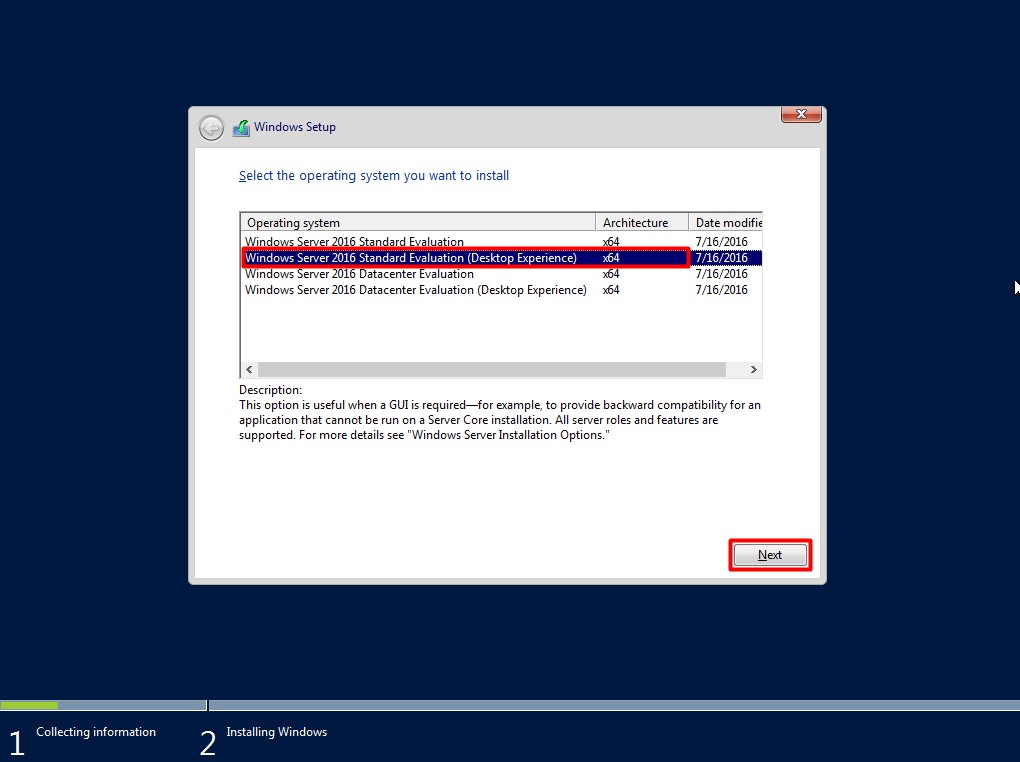
Next, I decided to install Windows Server 2016 Standard (Desktop Experience), so that I have a regular version of windows installed, ie, with a desktop environment. This is the version that should satisfy the majority’s needs, but you can always compare versions and determine which one fits you the best: https://www.microsoft.com/en-us/cloud-platform/windows-server-comparison.
Click “Next”.
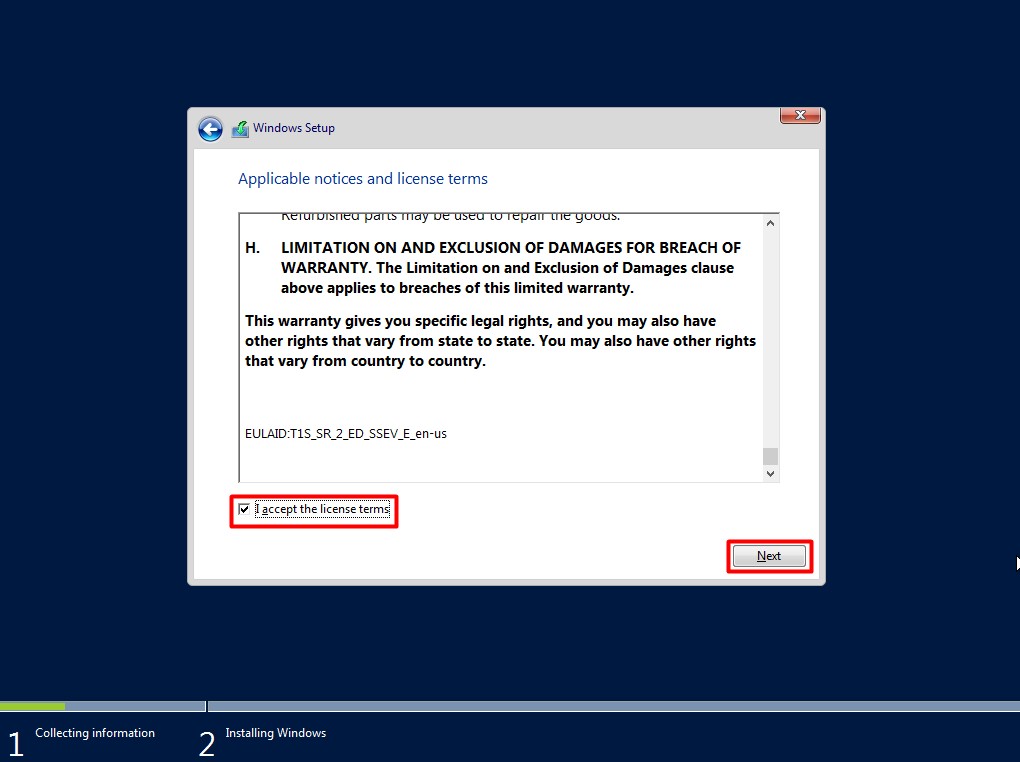
Read and accept the license. Click “Next”.
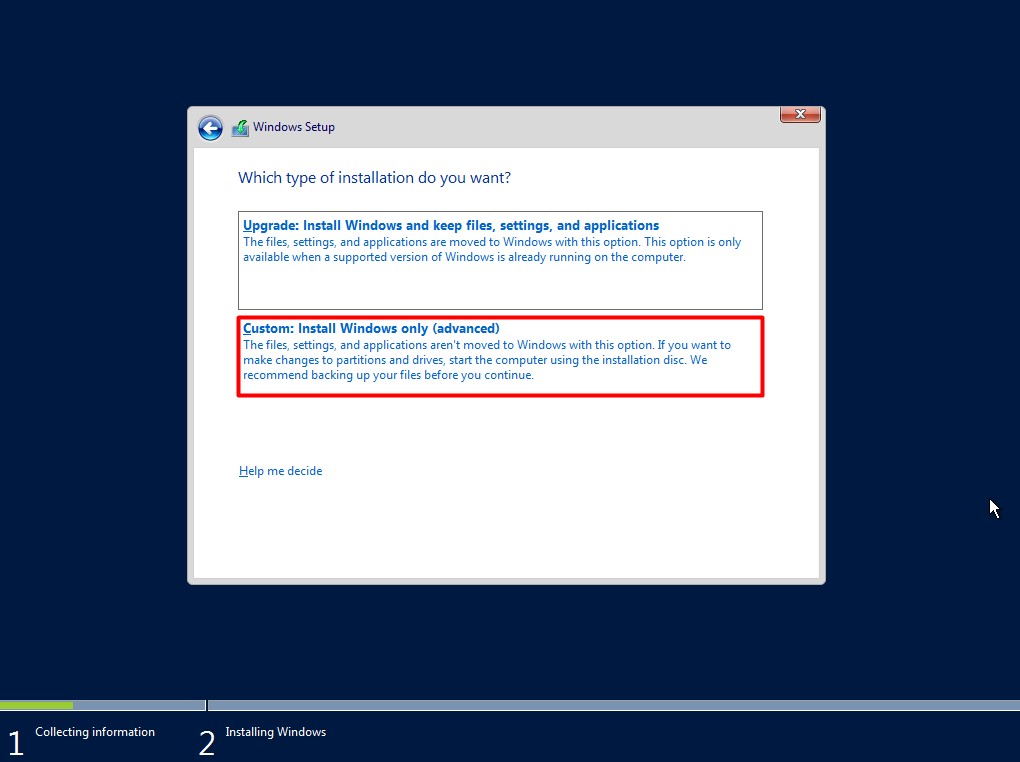
Click on “Custom: Install Windows Only (Advanced)”.
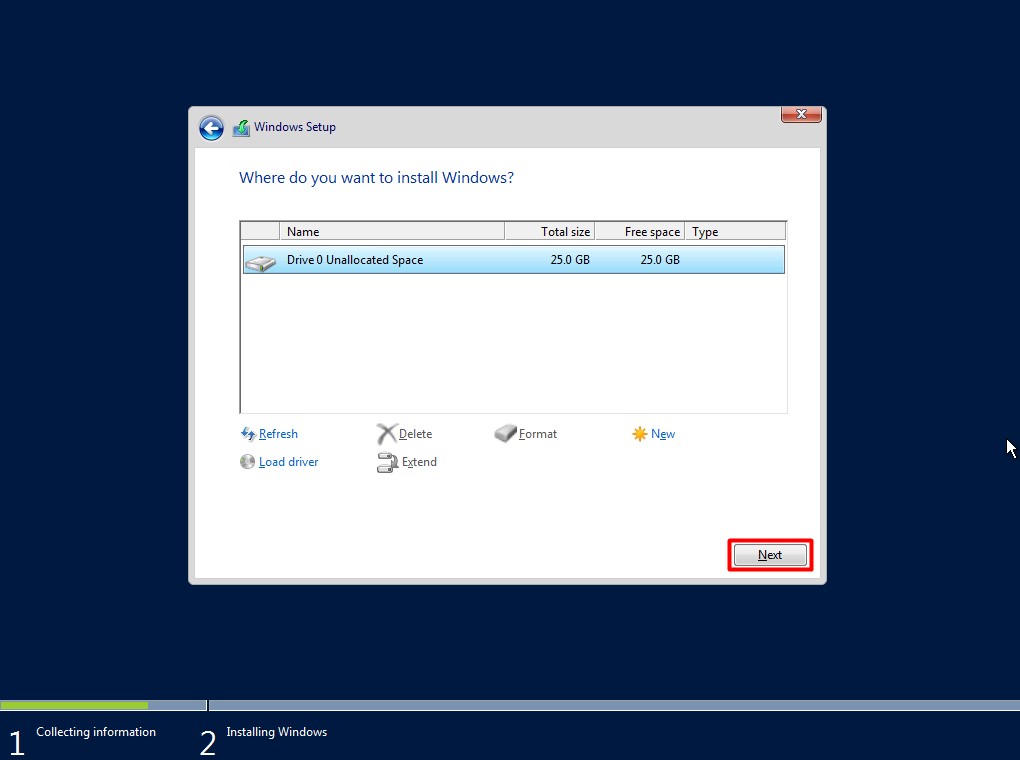
Assuming that you are using a virtual machine, just like I am, you’ll see a drive with no allocated space. Select that drive and click “Next”. Note that if you are using a physical machine or even a virtual machine where you have already an operating system installed, this will delete all of your previous data from the hard drive!
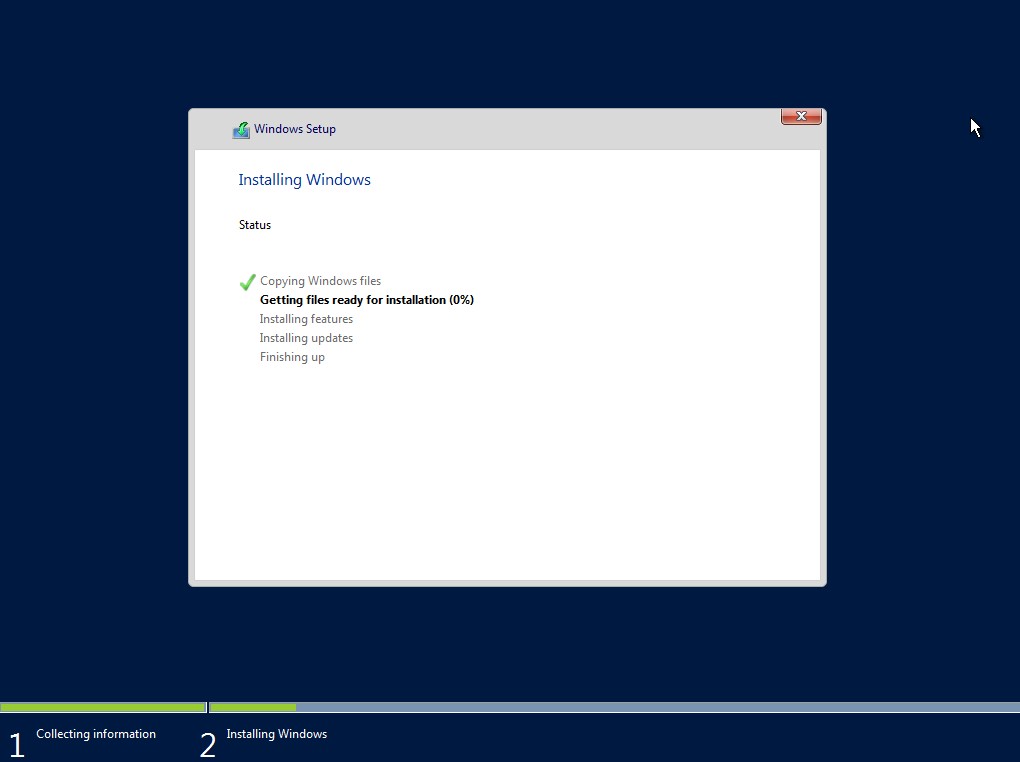
The Windows Setup wizard will now copy all files to your hard drive and will restart once finished. Be patient!

After restarting, Windows will prompt you to choose a password for the Administrator. Click “Finish”.
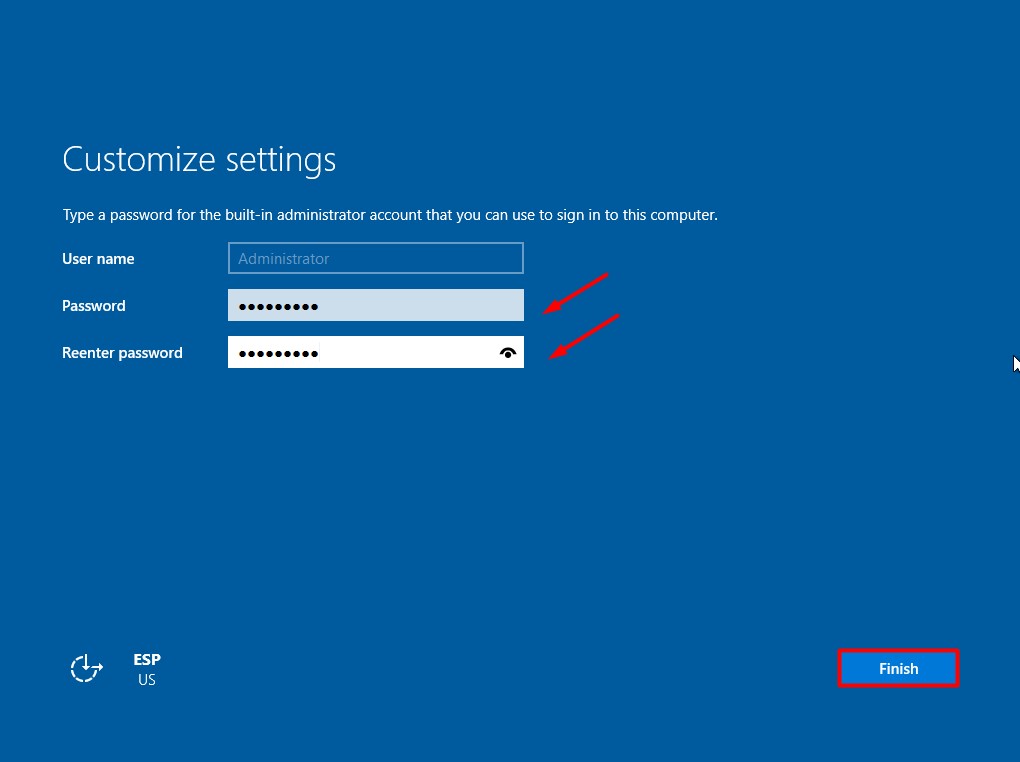
Press “Ctrl+Alt+Delete” and that’s it! You can now start using your new installation of Windows Server 2016!
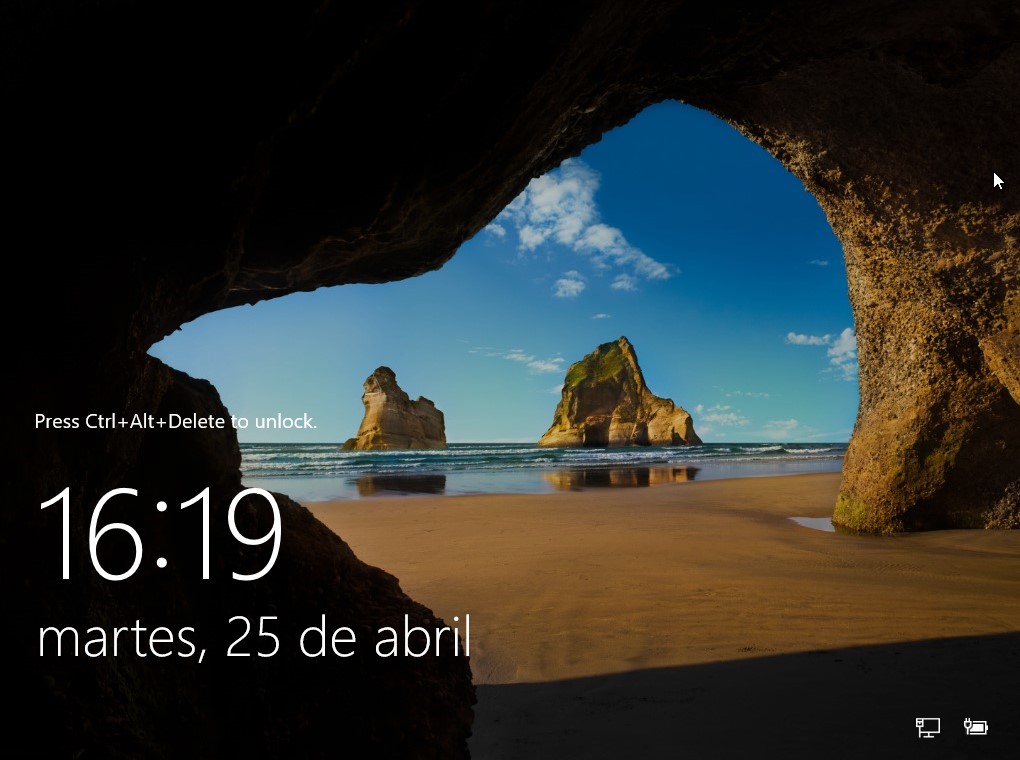
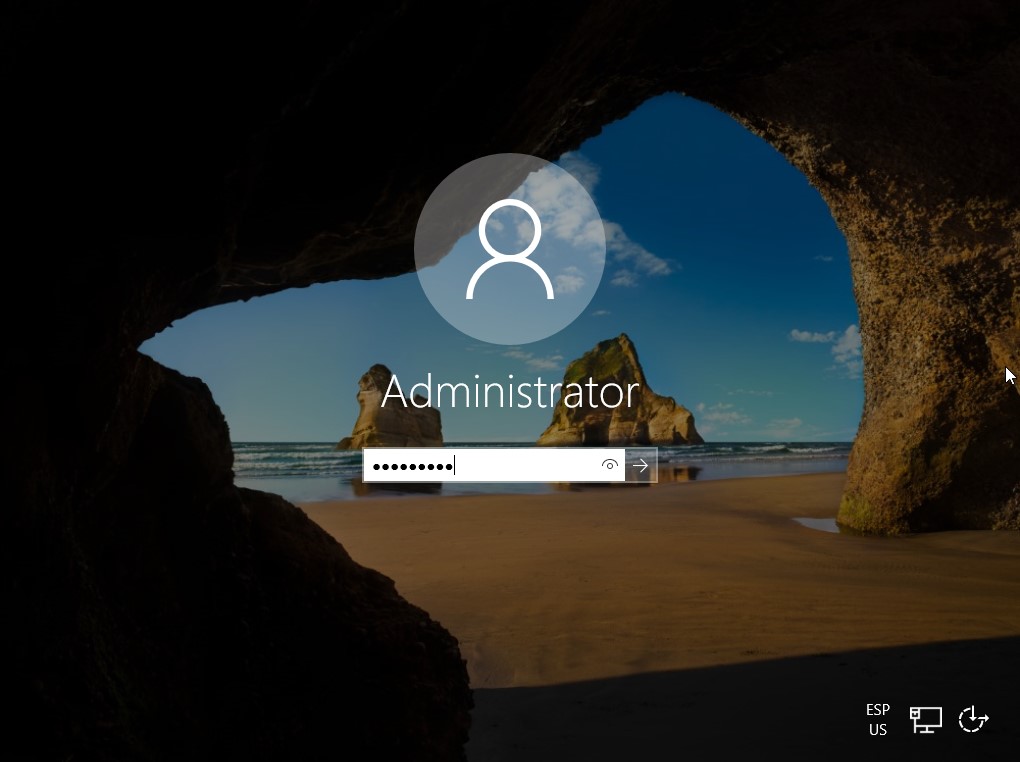
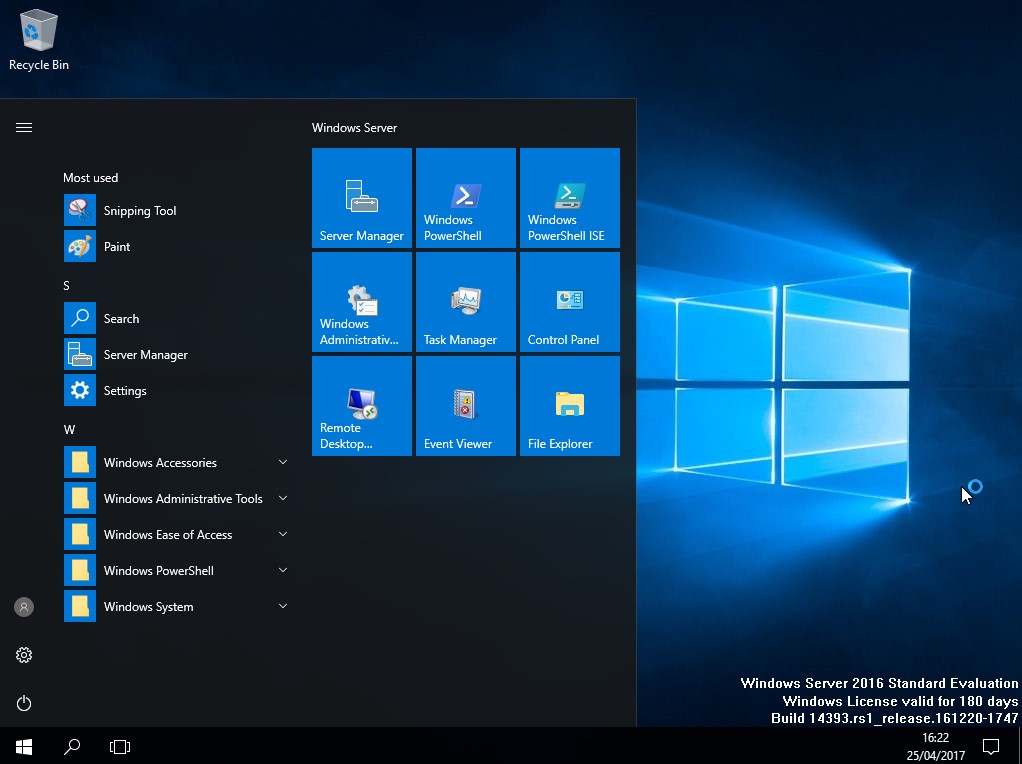
Windows Server 2016 is now ready to use but it might be necessary to perform some additional configurations. In my case, being on a Virtualbox VM, I will now install the “VirtualBox Guest Additions”, which is a set of drivers that allows the VM to have a better performance.
I will now install Active Directory Domain Services (ADDS).
As always, if you found this article useful, share it with your friends.
If you have any questions or suggestions, leave your comment.
Thank you for reading!


